

Remodeling Lil Blue
Last summer came and went. And I’m not entirely sure where it went… it just did. Here we are at the end of January, and I want to share a project we did at the end of June that I’m very proud of, and perhaps, by sharing it, it will inspire some of you as you think about your own home updates in the new year.
We took the plunge and bought our very first investment home. It was a scary leap, but it was one of those things that, when the stars begin to align, you really ought to follow them. I do credit Joe, my husband, for taking the lead on all things real estate, negotiations, and contracting—once he sets his ambitions on something, he makes it happen. As for myself, I was in charge of all things interior design. My goal was to refresh an older home’s custom DIY work into a fresh interior that would appeal to any professional renter.
I hope you enjoy this blog as I share a bit about my approach, findings, and tidbits from our very first budget-friendly reno!
Let’s get our hammers out and dive in!
Where to begin?
Well, let me start by saying, we are no Chip and Joanna Gaines. Joe is no contractor, and I don’t install cabinetry in my spare time. But we both can spot a home with good bones from a mile away. And Lil blue had good bones!
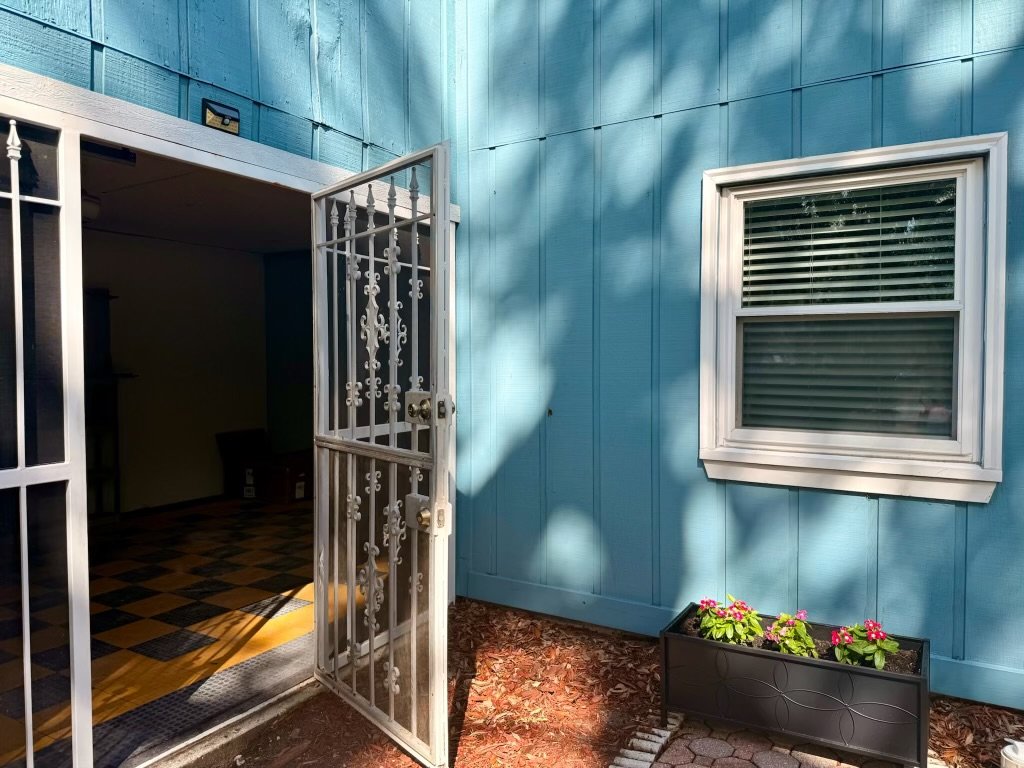
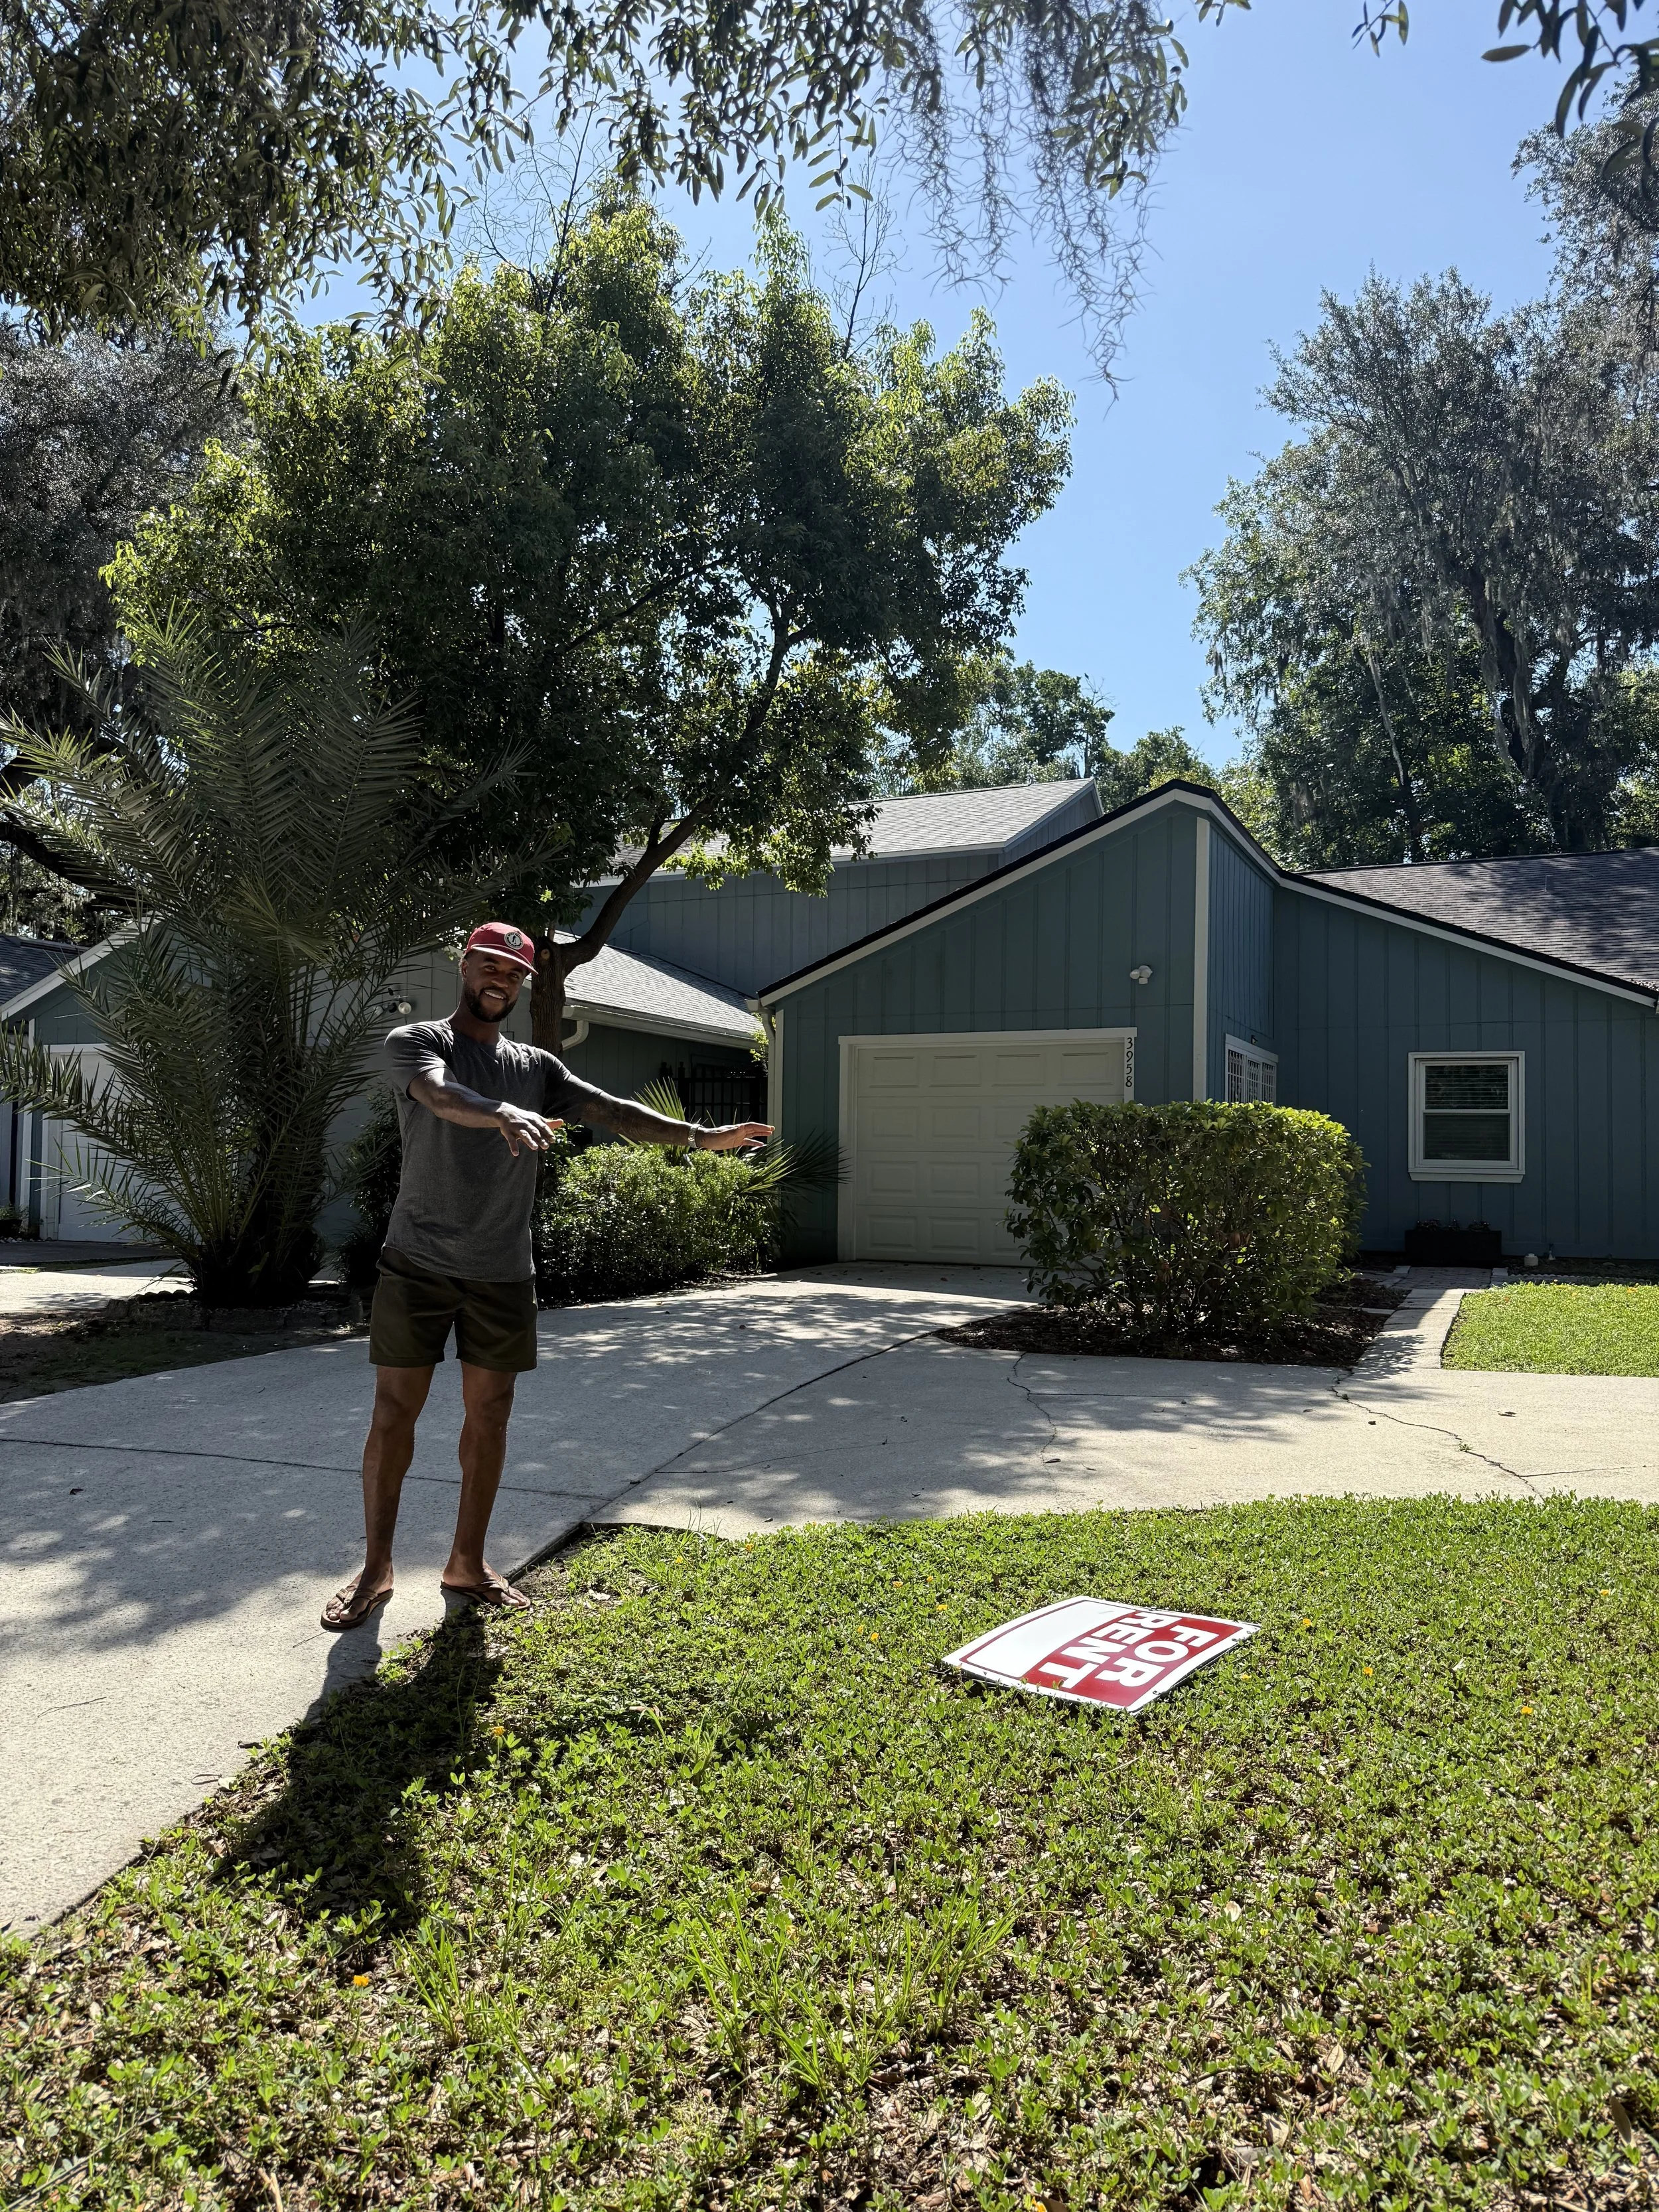
2 bedroom, 2 bath with a quaint backyard and yes, blue exterior paint. Lil blue is minutes from our own house in the walkable historic district and she was just a little gem waiting to be uncovered.
All in all, she was in great shape. Some older appliances, a couple purple painted walls, and seashell teal kitchen knobs (try saying that 3xs fast) were her overall aesthetic.
Upon my first walkthrough, my biggest takeaway was the need to create more natural light in the main spaces. It felt dark and outdated.
—> Note: The house will tell you what it needs. You just have to listen and ask,
“What do you want to make this space feel like?”
Well, Lil blue was telling me that she needed more light, more air, more openness and some fresh new outerwear!
So herein lies the truth of any home project. You have to work with what you have! Our budget wasn’t large, we crunched the numbers and identified the top areas we would spend our limited funds that would make the most meaningful impact, and it all began right here…
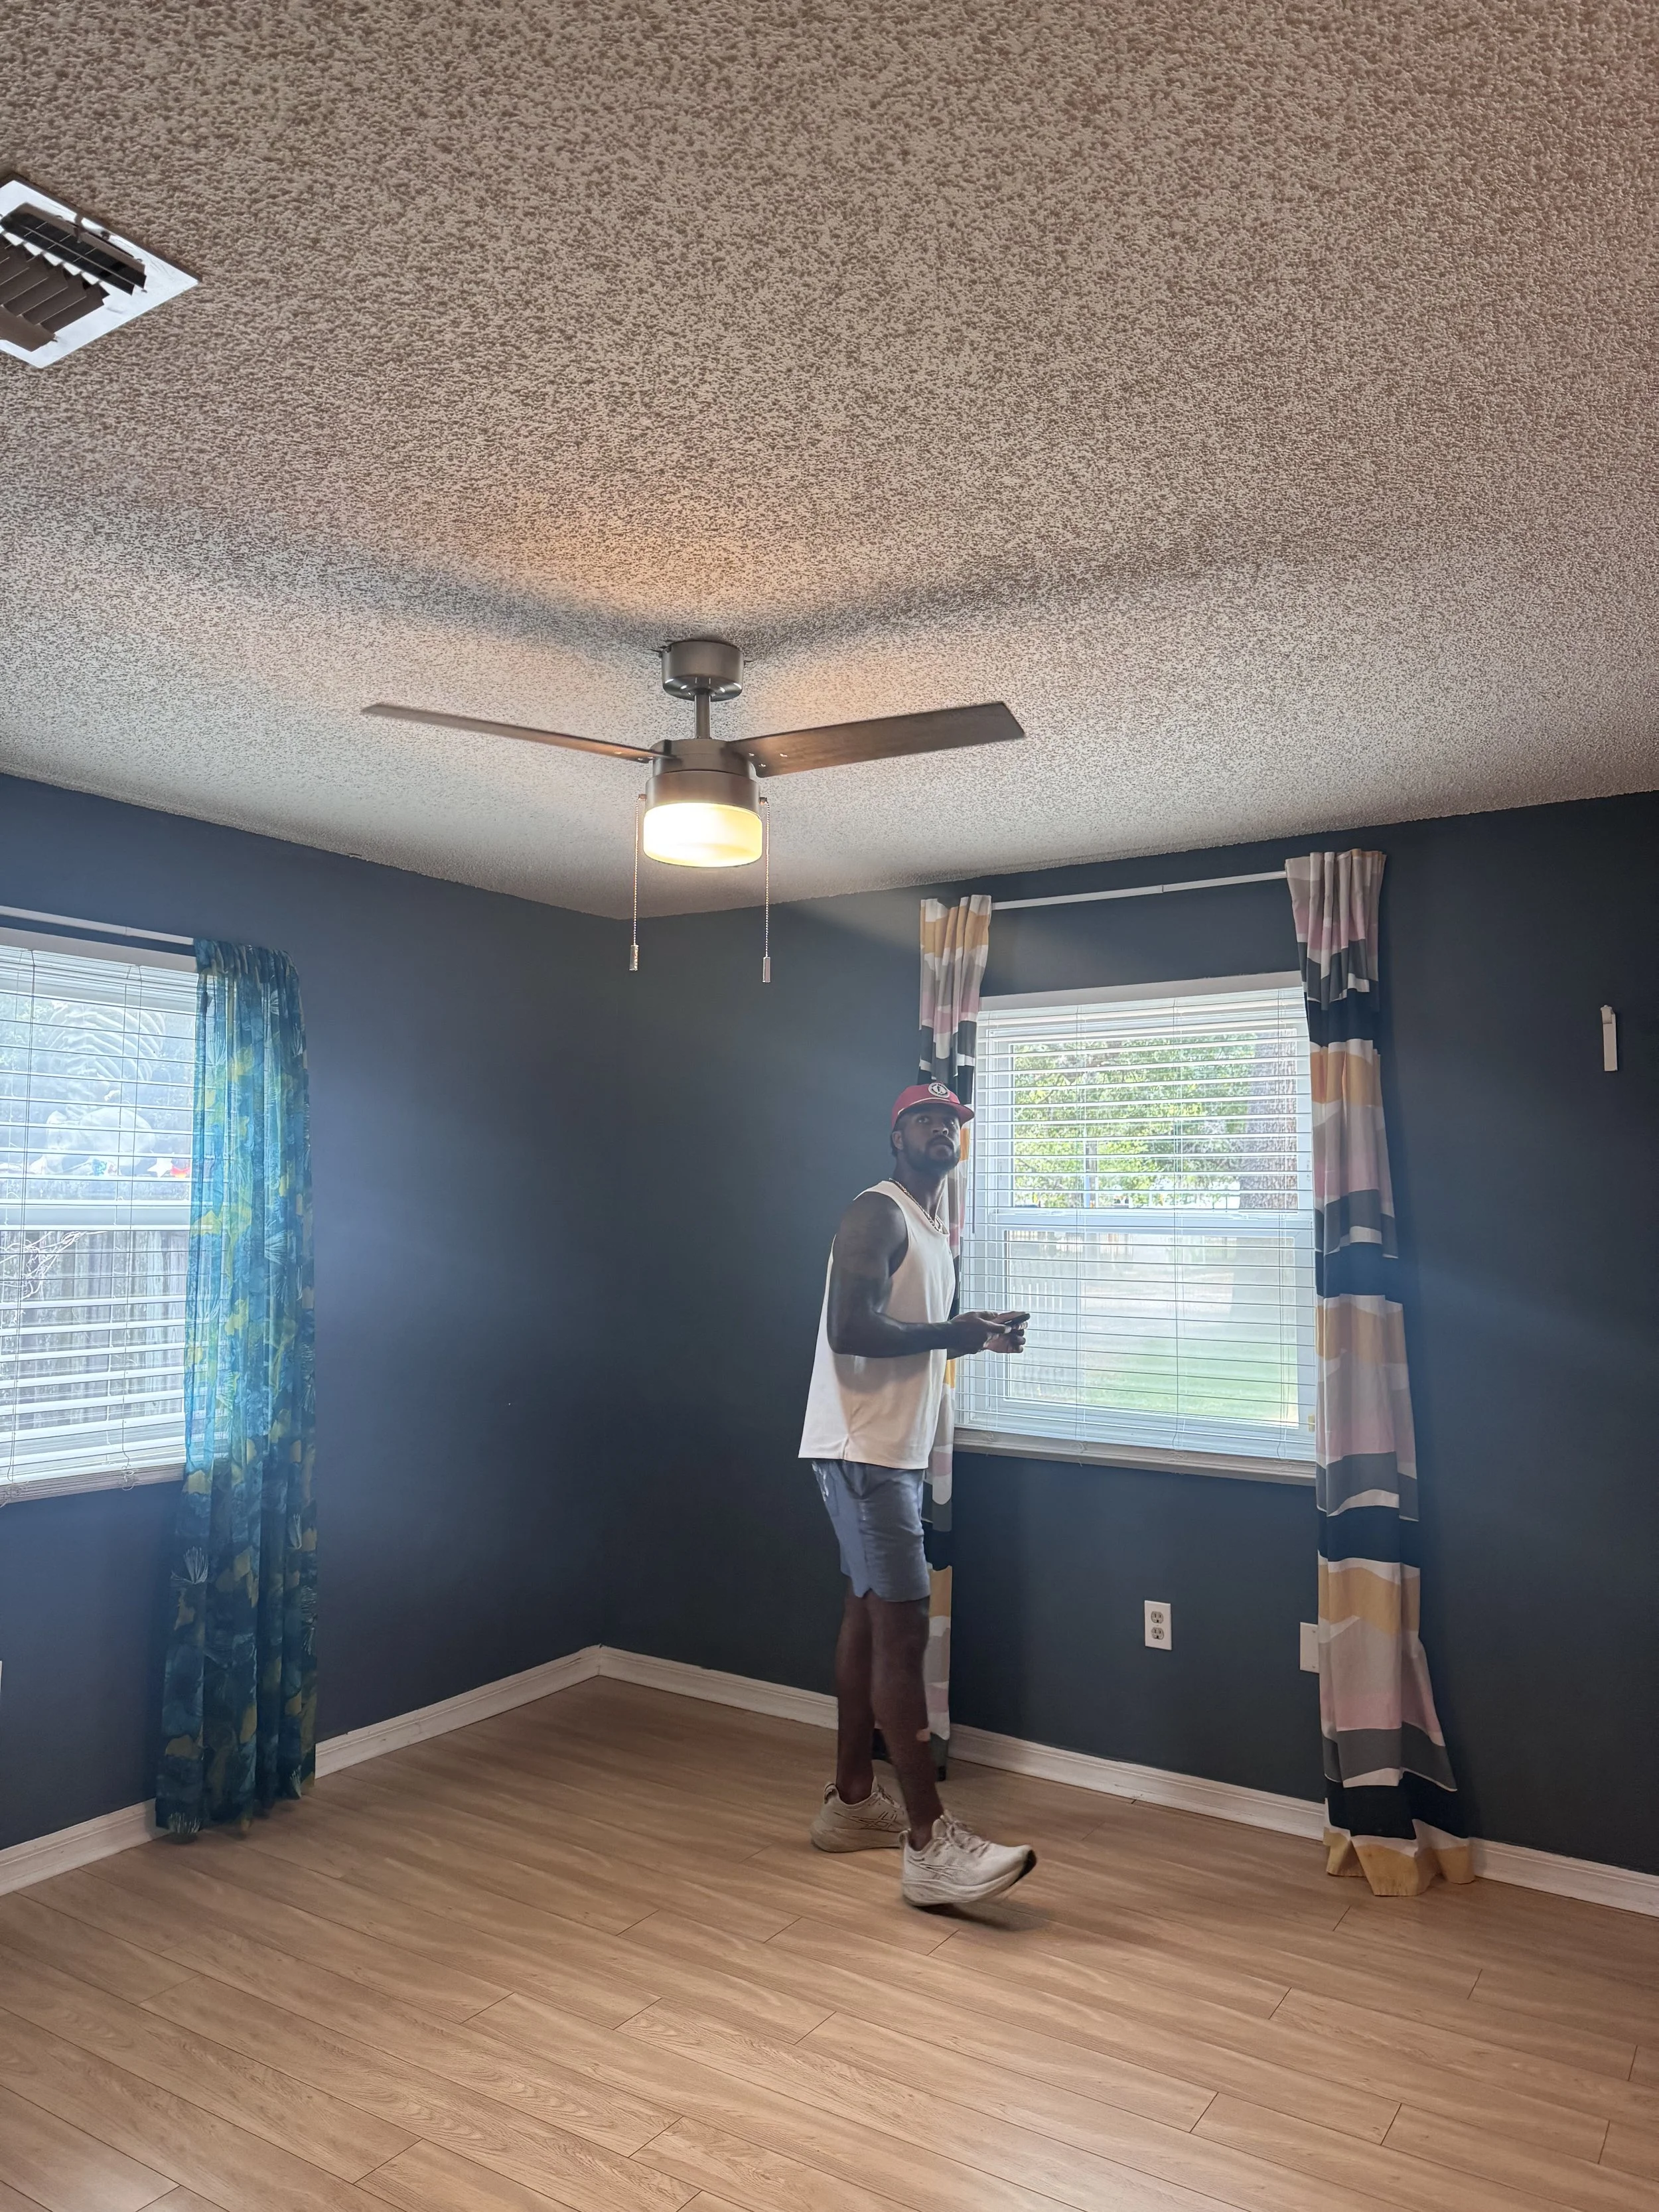
Goodbye Popcorn Ceiling!
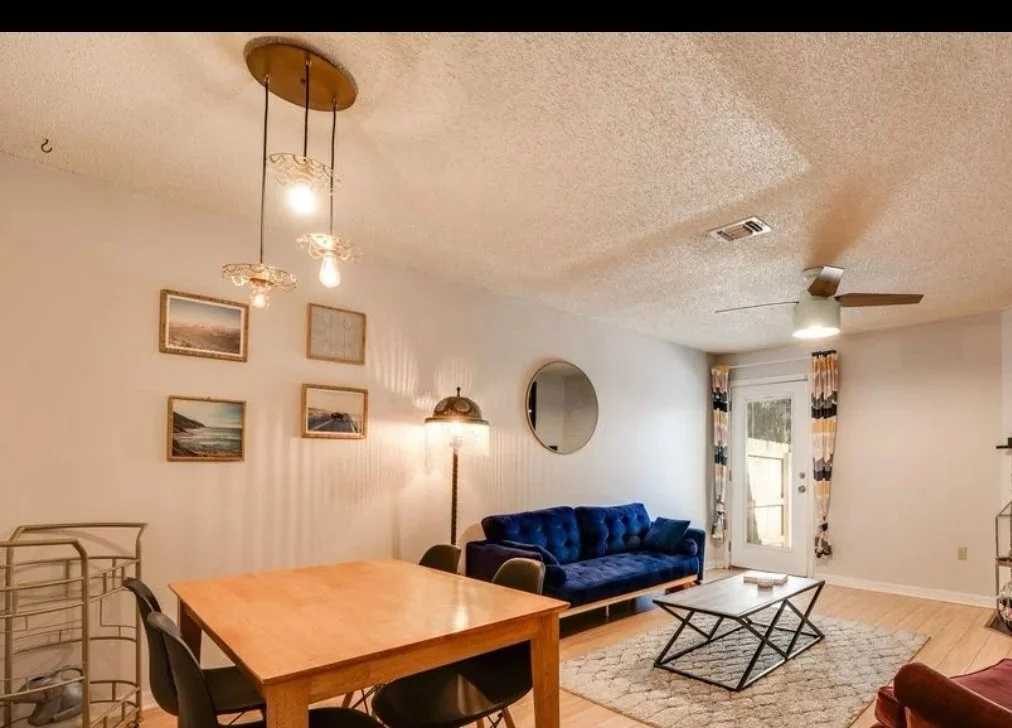
Built in the 80s, Lil Blue sported popcorn ceilings everywhere. And although that first Zillow photo may look alright, it gave a stuffy feel to the house and desperately needed to be removed if we were going to create the sense of openness that I envisioned.
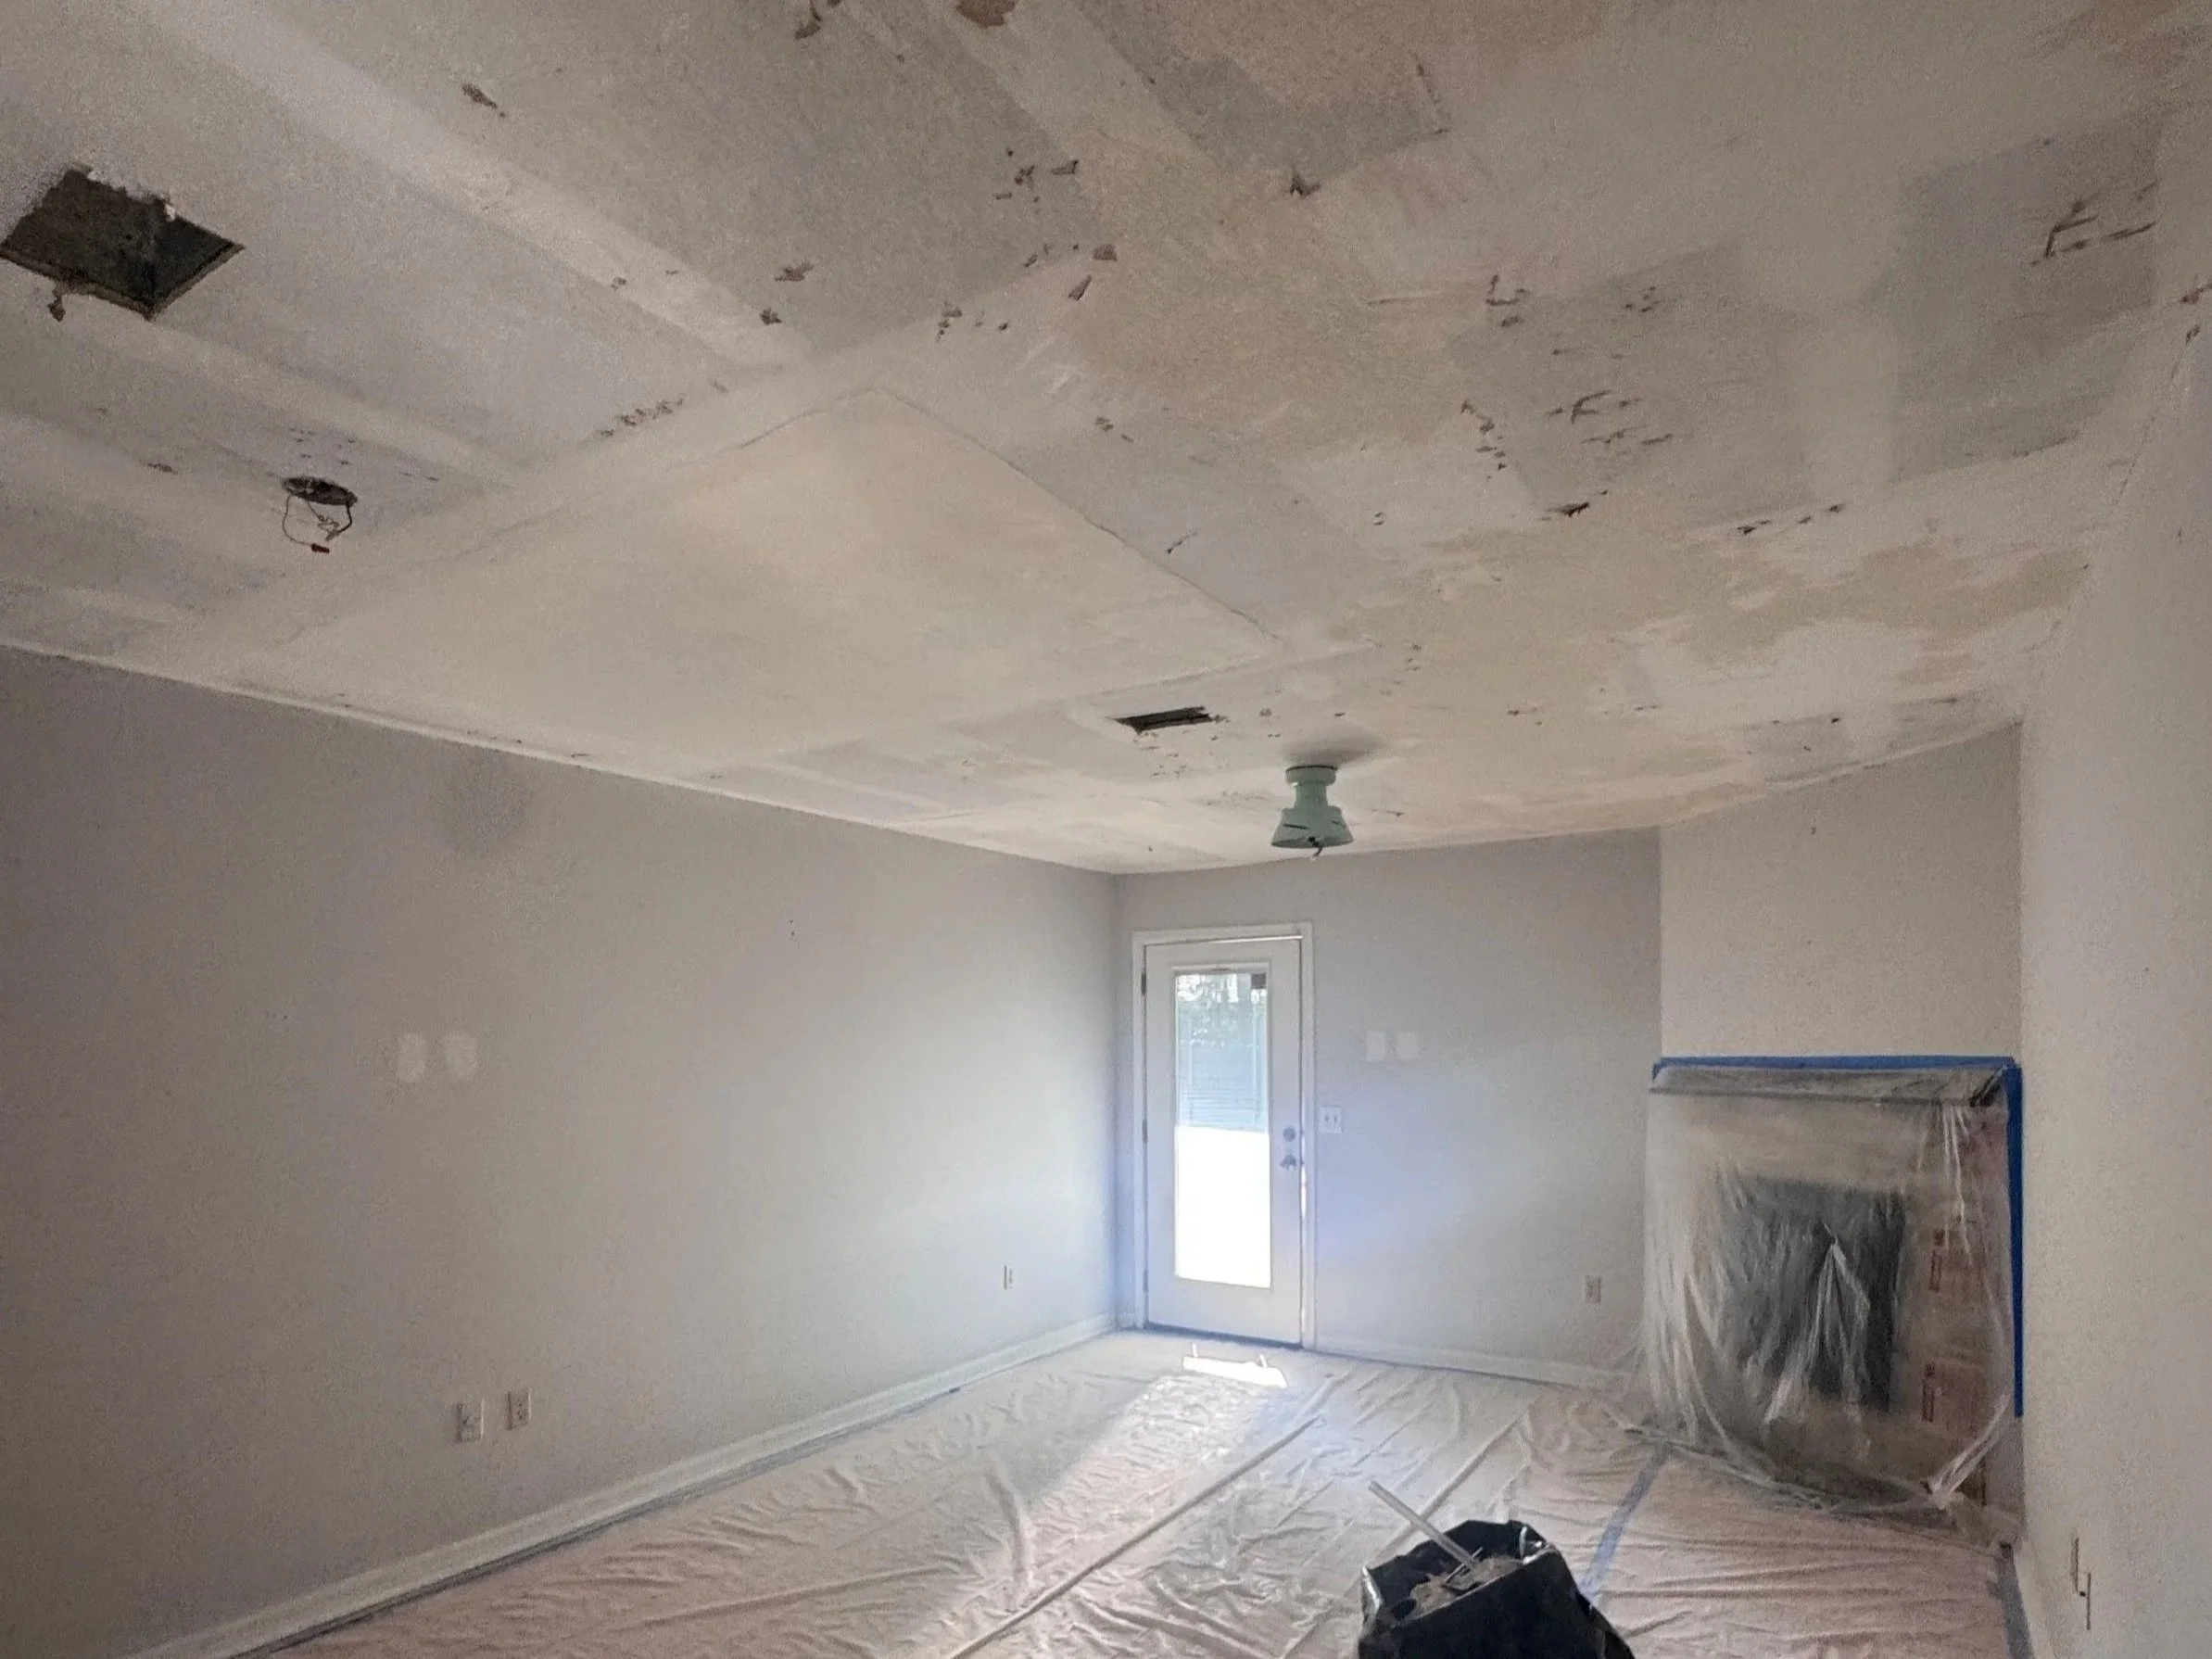
Removing popcorn ceilings isn’t cheap, so we decided to have them removed in all the main spaces of the home. Yes, you caaaaaan do it yourself, but it’s super time-consuming. This was one of the first things we had our contractor tackle, and you can tell even in these two photos how much larger the room feel, even before paint—with just the popcorn ceiling scraped off.
Now let’s talk Paint
So staying budget-friendly, I went with one color for the interior. And let me start by saying: white is a color! And white is not just white! Louder for the people in the back… WHITE IS NOT JUST WHITE!
Why do I say this? Well, let’s just say we had one very haughty debate about this, and depending on the room you are painting, the side of the earth it is facing, and the amount of natural light the room receives, which white you choose matters.
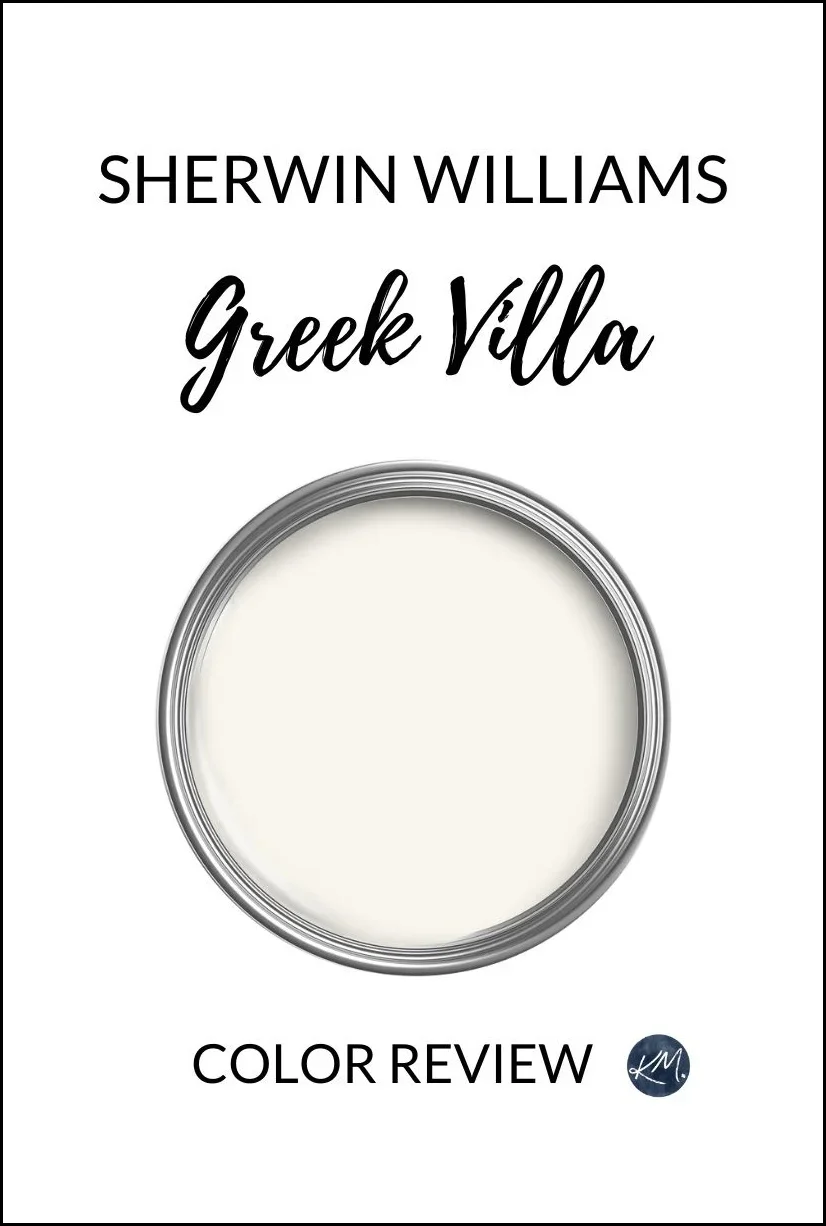
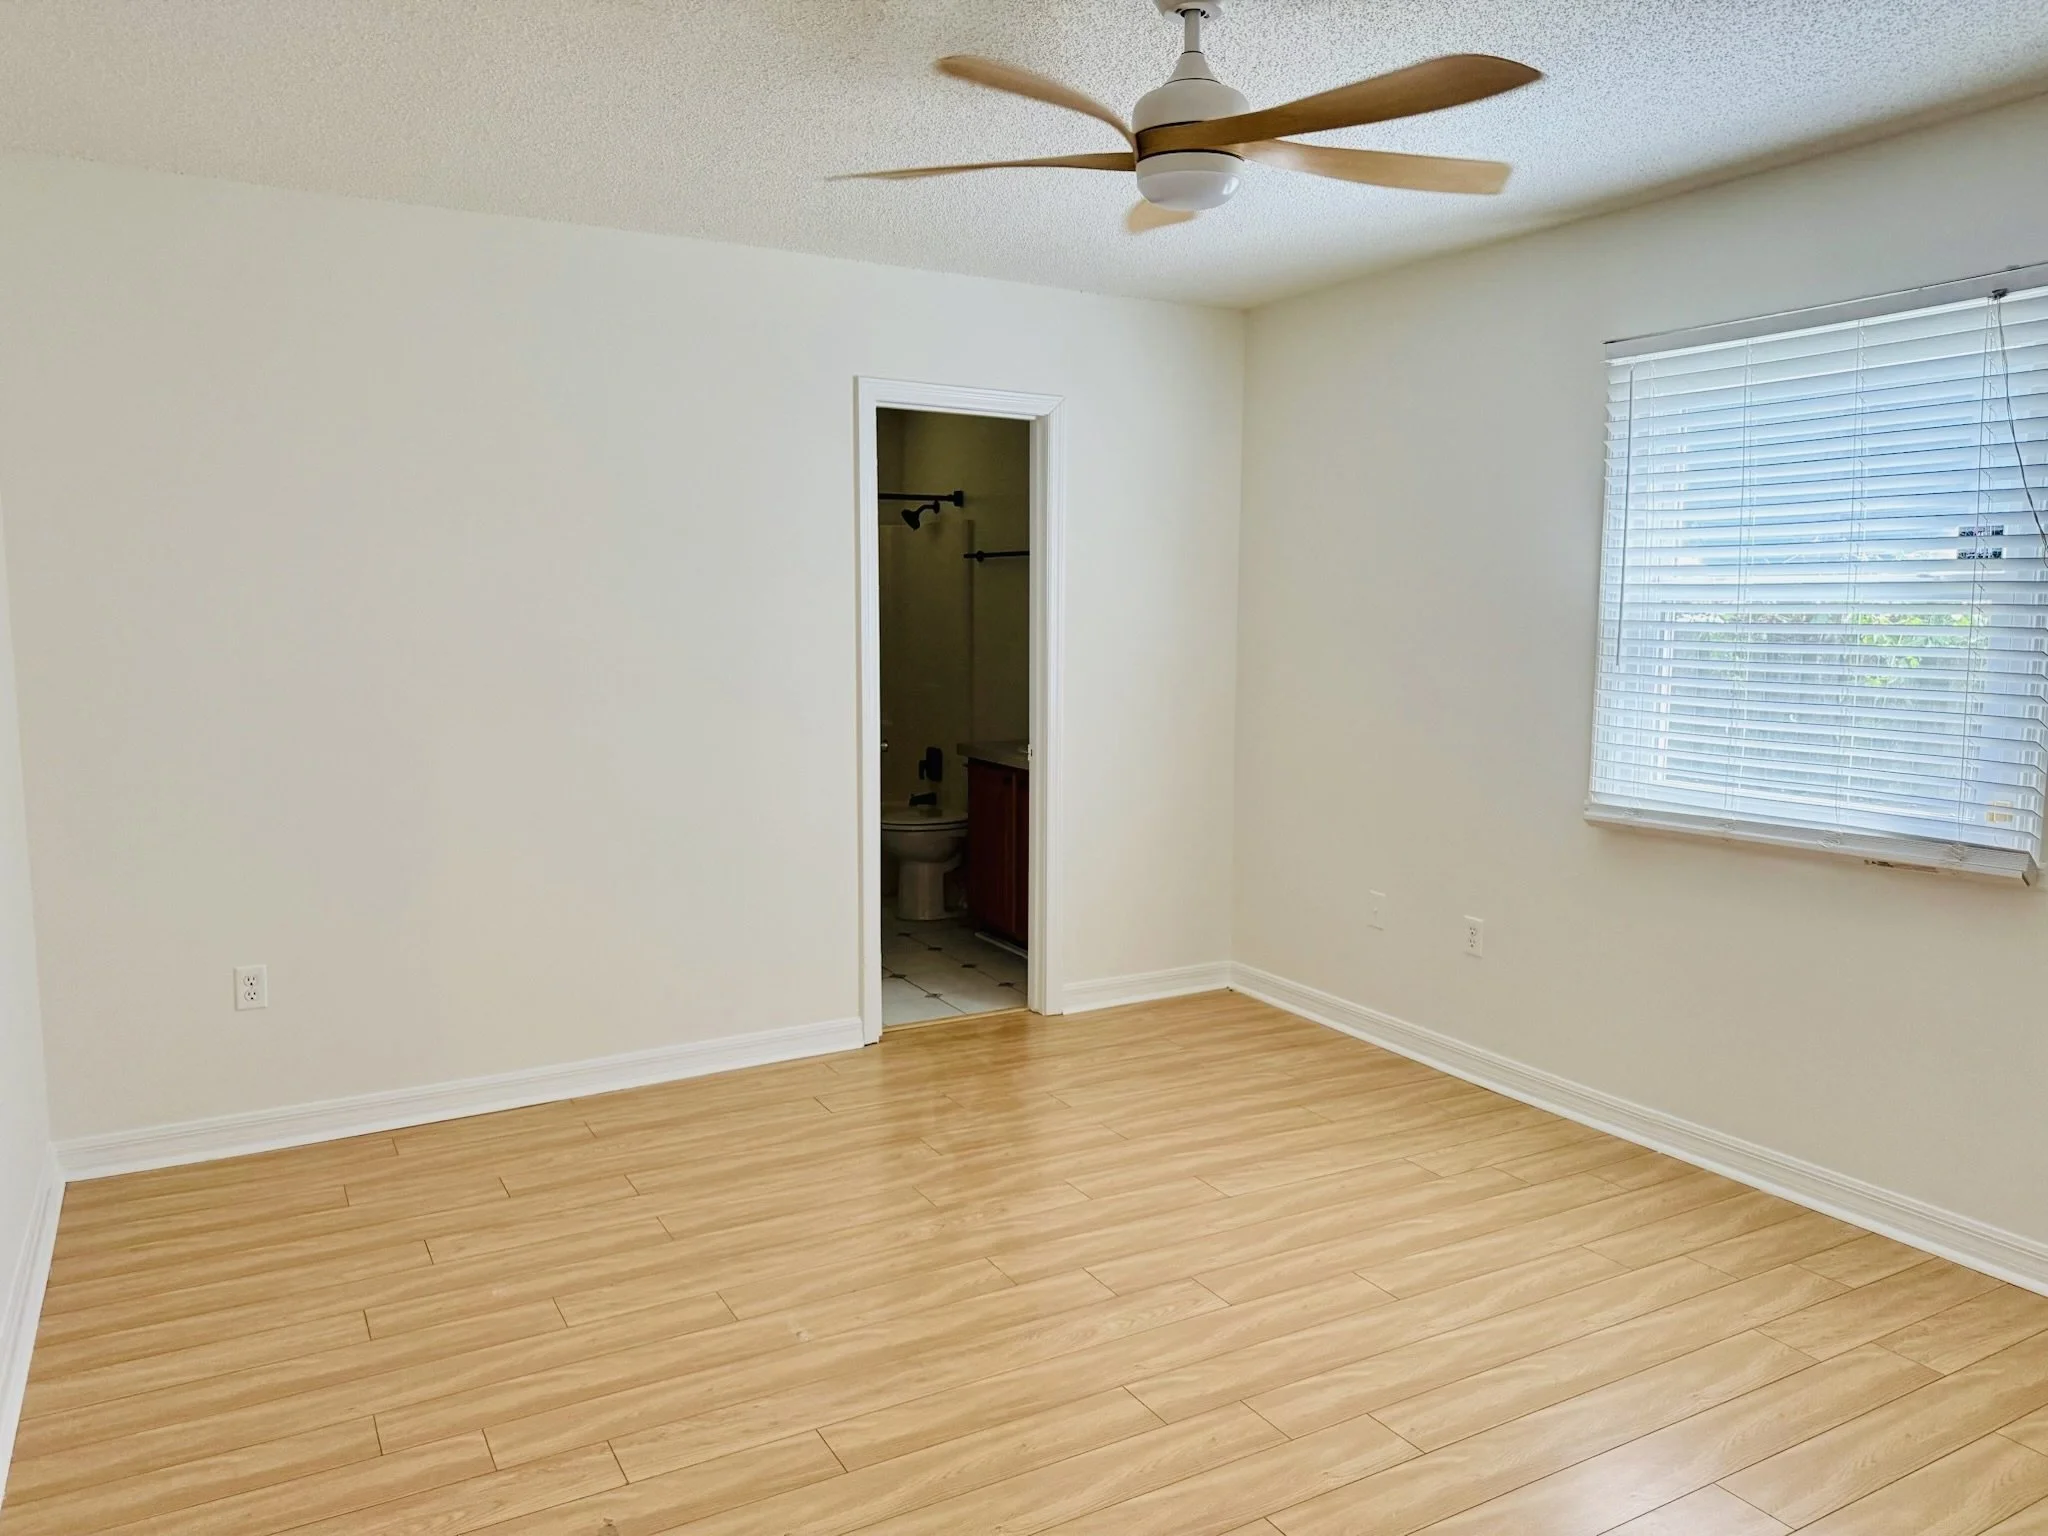
So meet: Greek Villa by Sherwin-Williams!
After extensive research, and some wall testing, I settled on Greek Villa as a warm, refreshing white that would bring lightness to the rooms and offer that fresh, clean feel.
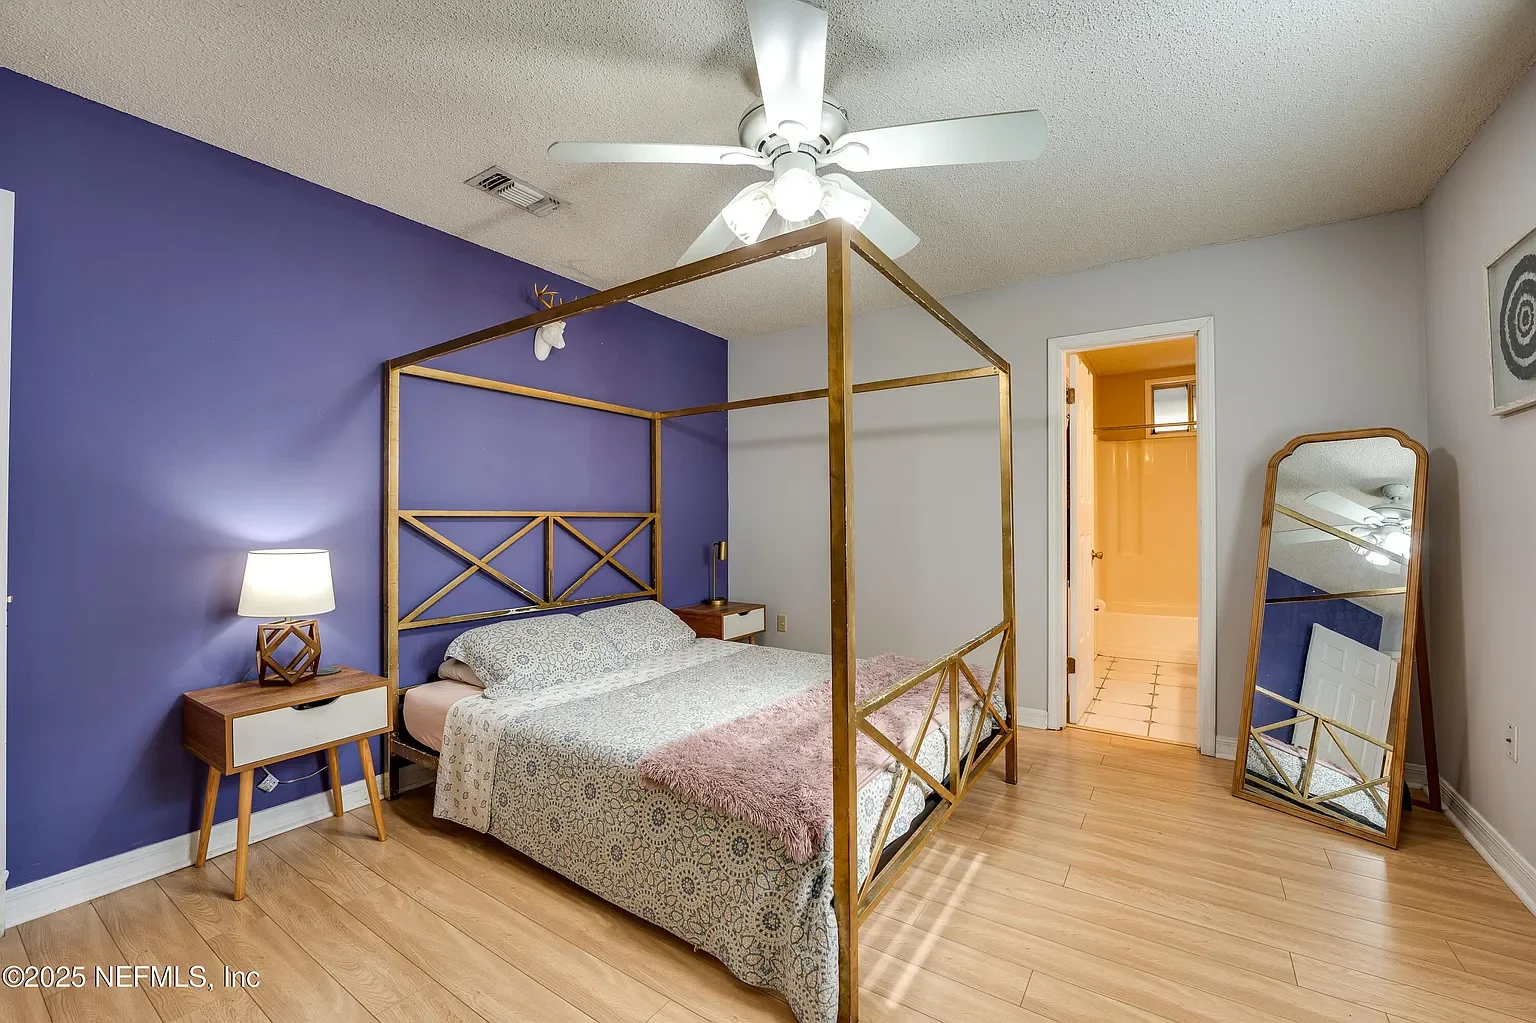
Before^
After! ( You see, I wasn’t kidding about the purple paint! )
Now for the details:
With the paint dried, now came the fun part—adding fixtures, lighting, and hardware! It may seem purely aesthetic after something like changing out the water heater, but these sorts of changes can really alter the look and feel of a home. It’s what makes you want to live in it!
In this case, I wanted to create cohesion. The home had three mismatched fans that varied in style, the bathrooms were interesting art projects themselves, and most of the lighting throughout the house was super harsh.
So here’s where you get to choose,
What accents will your home have?
As I was keeping it simple, I chose black accents! I wanted to convert the old, water-stained silver hardware to newer black ones that would contrast nicely with the new wall paint.
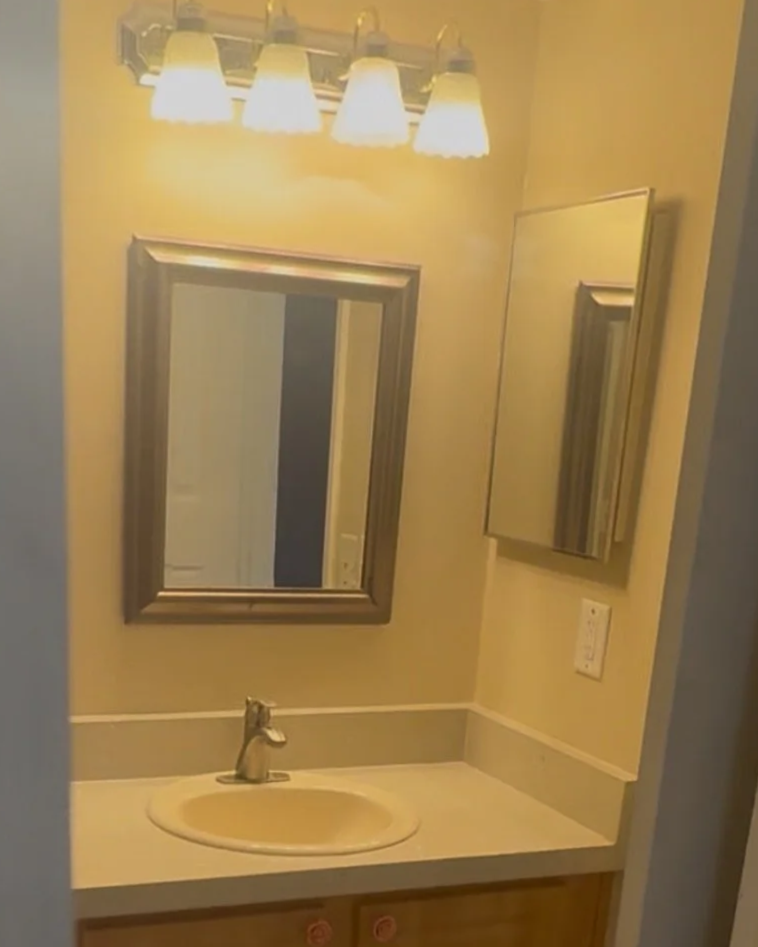
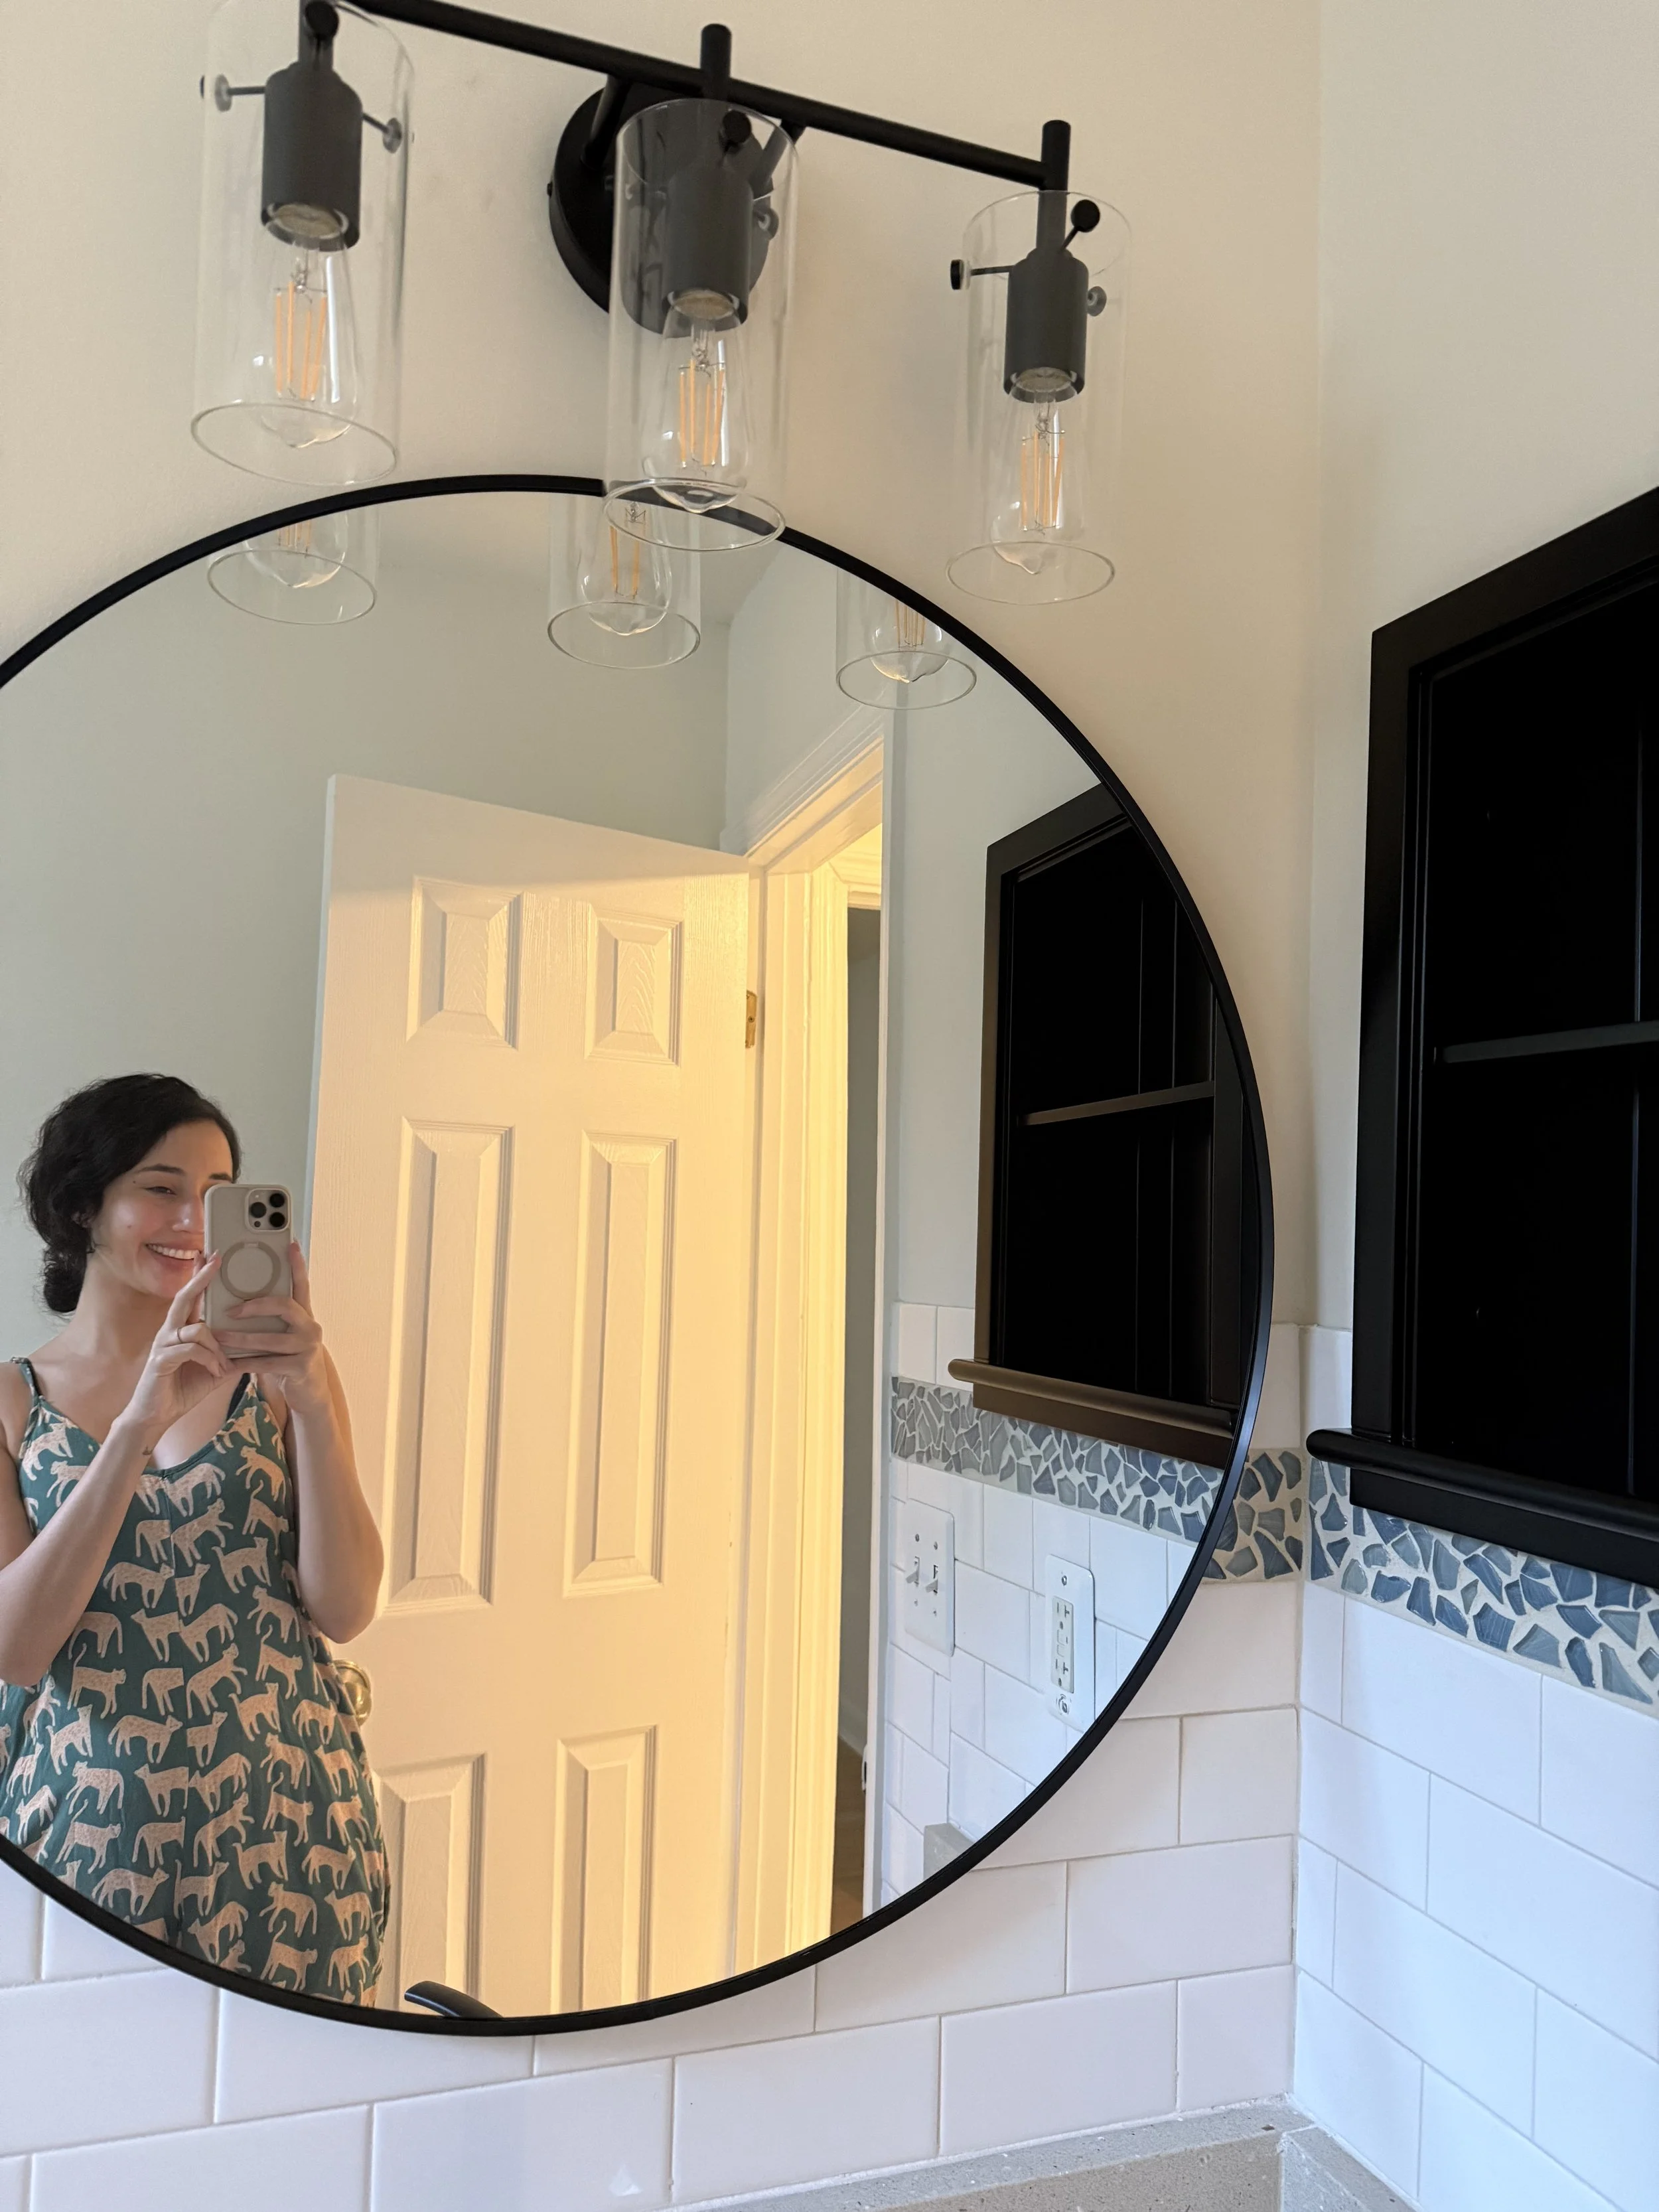
Take a look at the impact it made in the hallway guest bathroom:
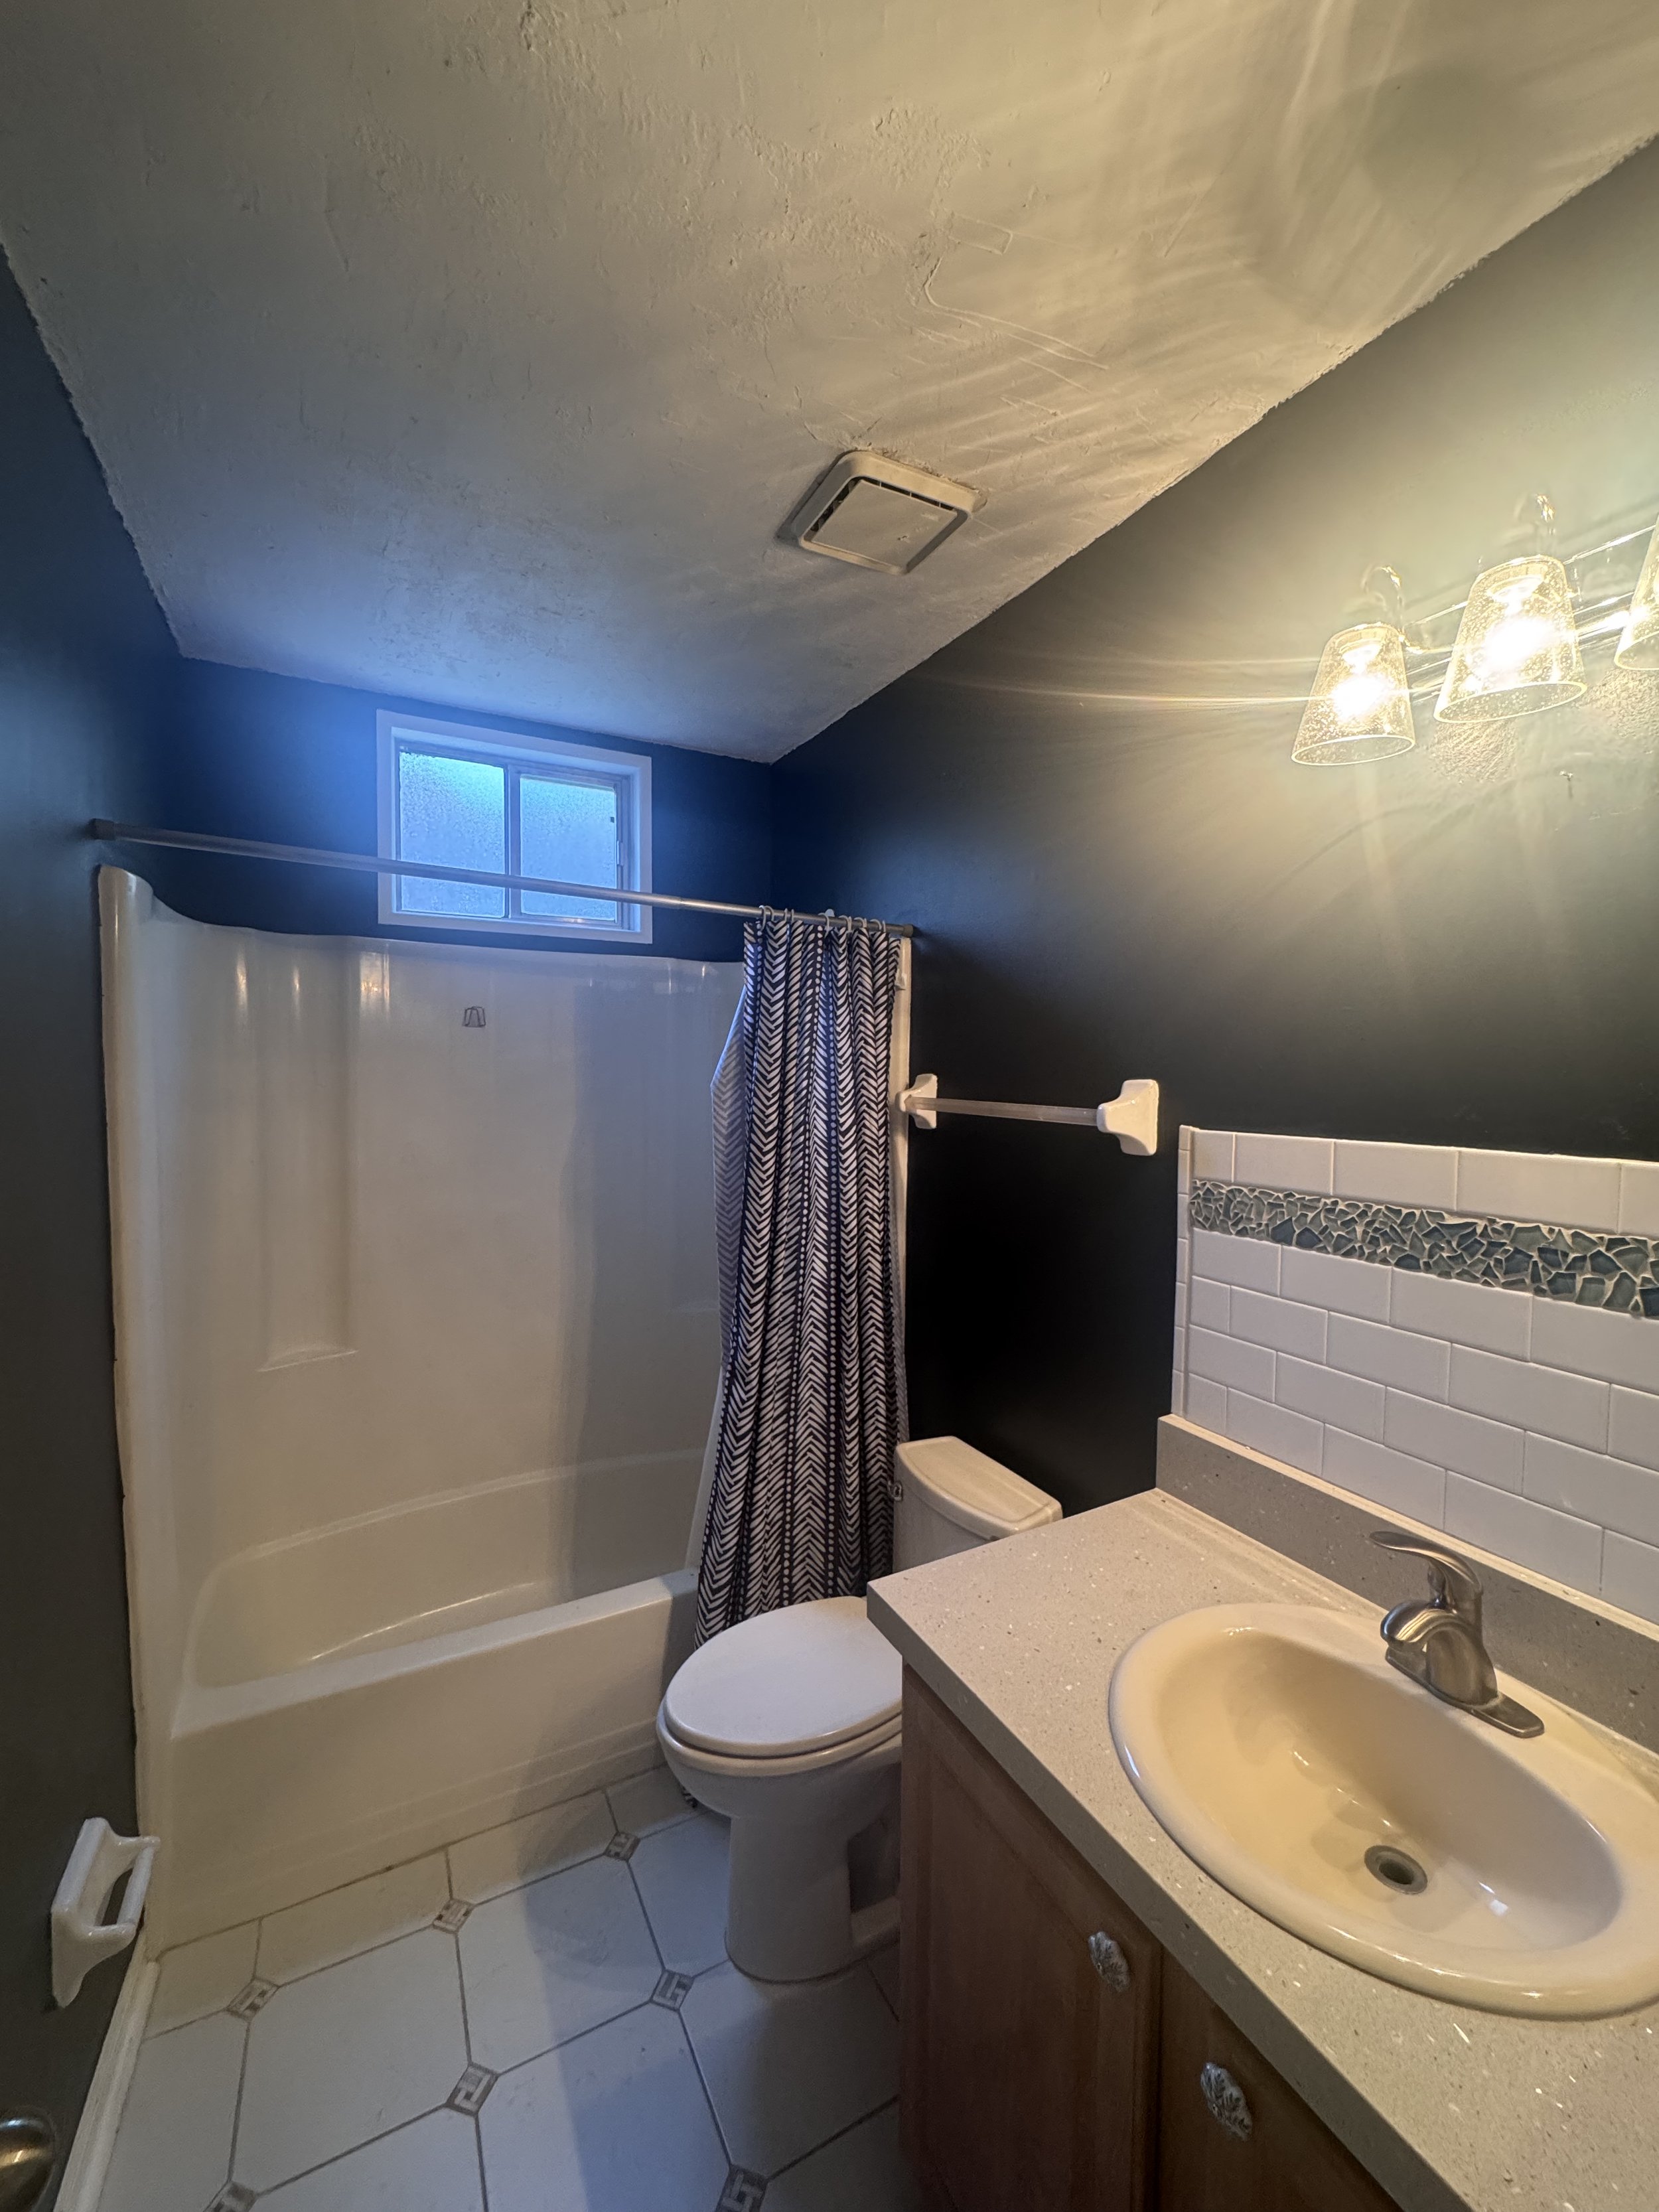
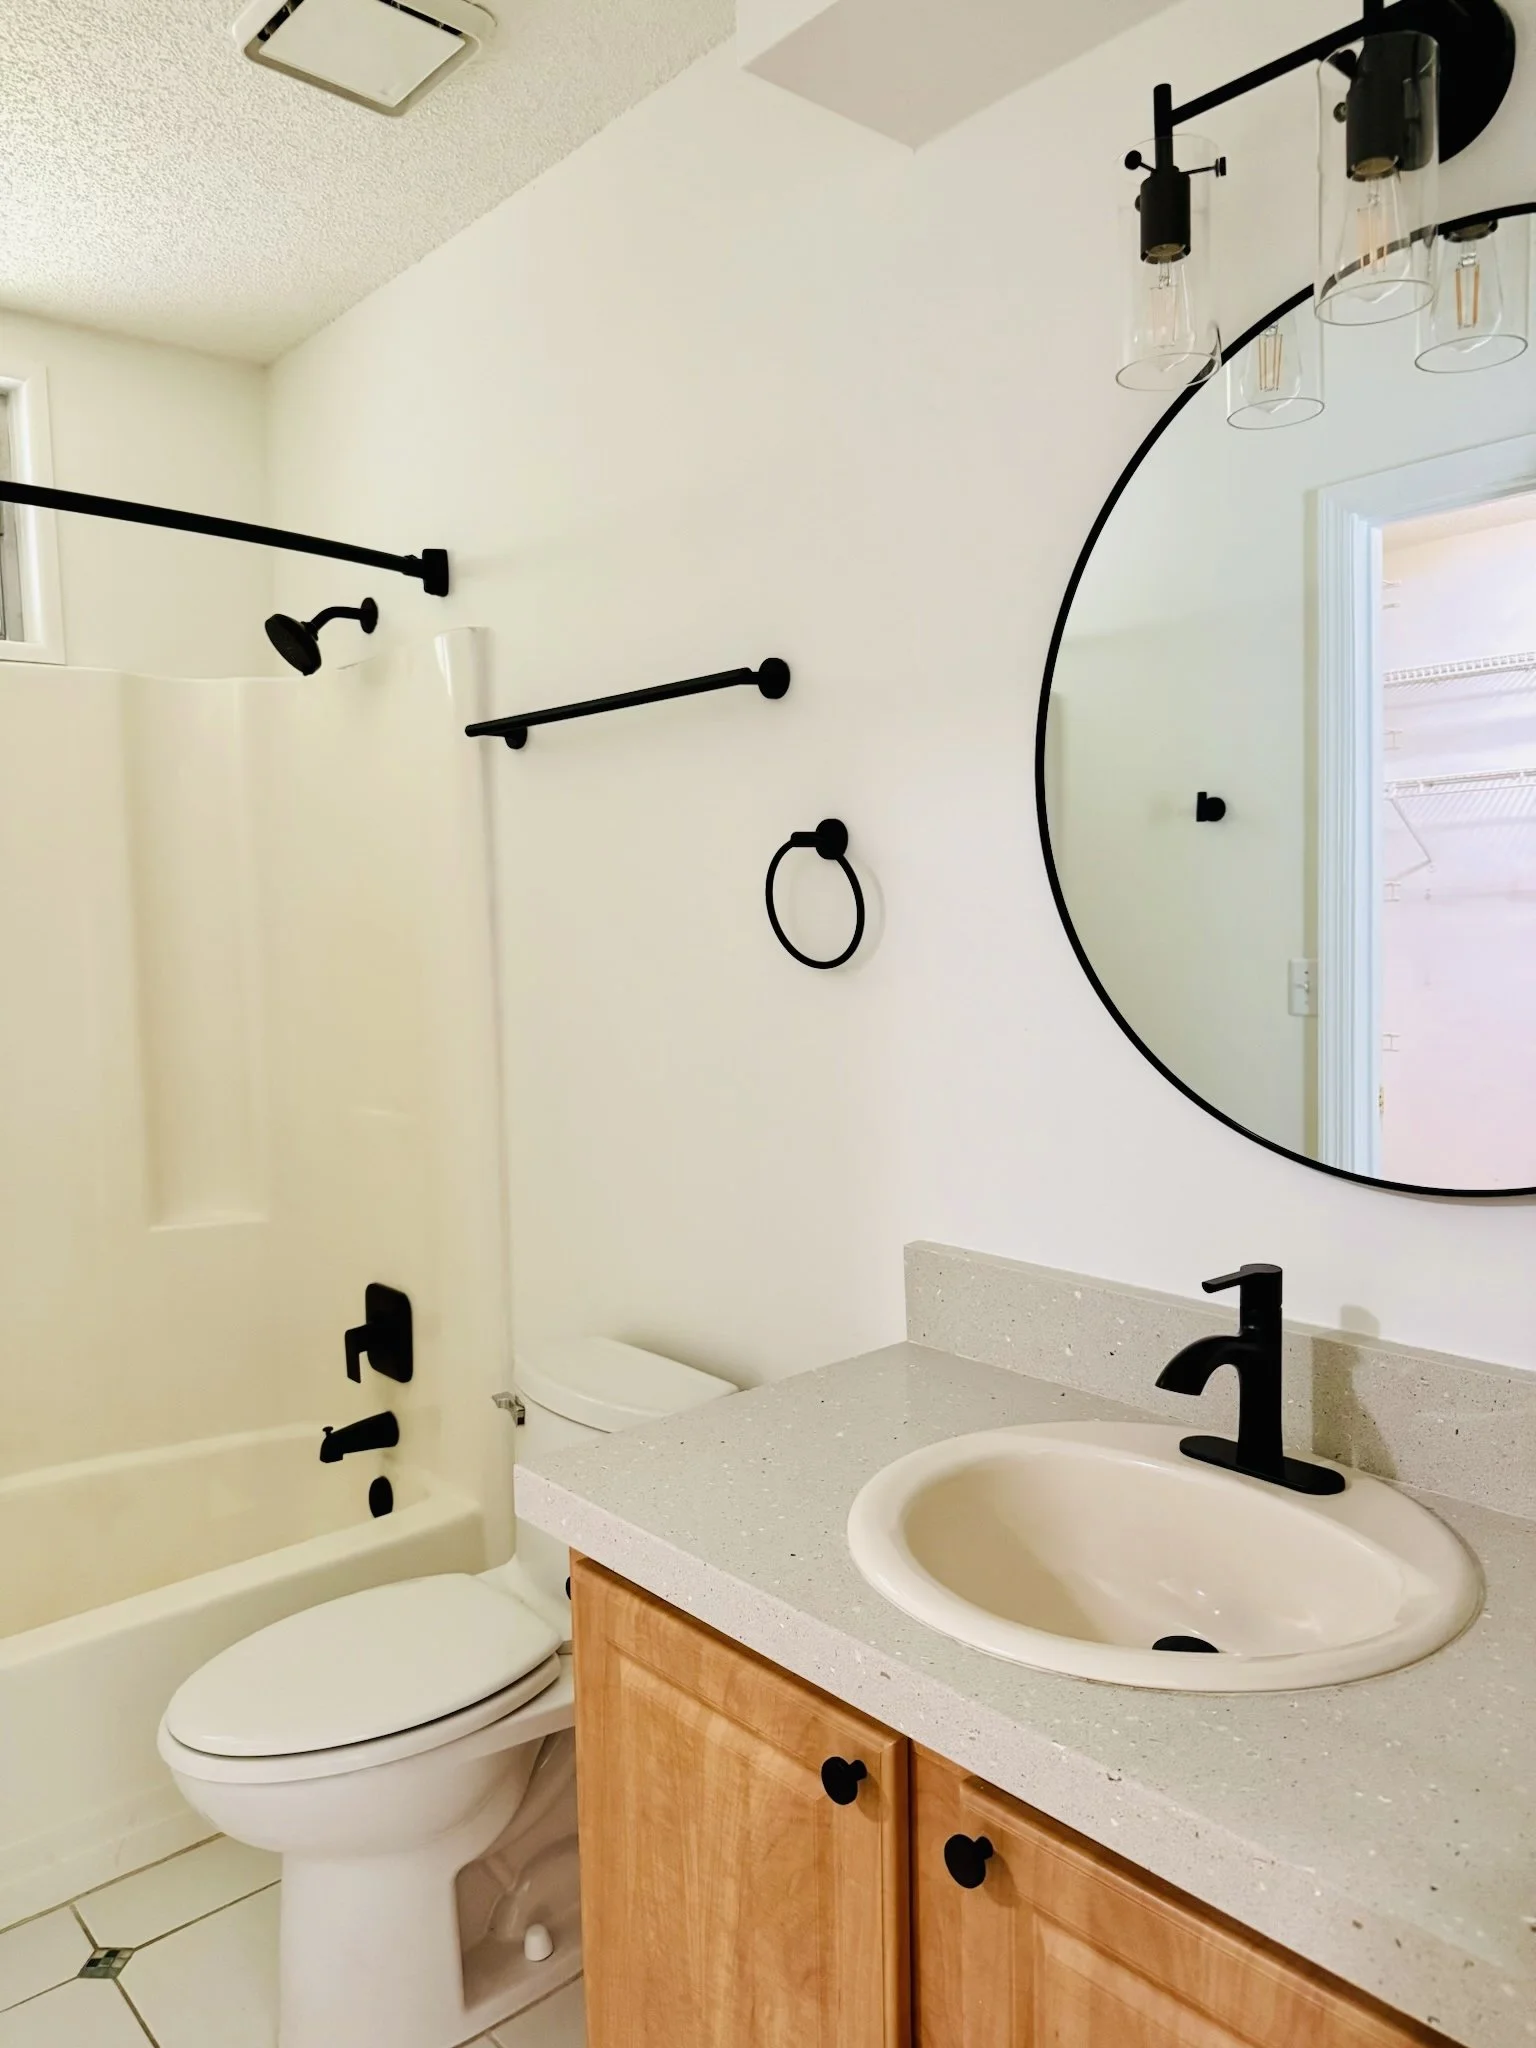
Moen sink and shower faucets
Another bathroom detail I am especially proud of is this little conversion of the medicine cabinet. Both bathrooms had the old-style mirrored medicine cabinet ( you know the type) that awkwardly takes up space and doesn’t serve much purpose... Well, I was determined to remove it and replace it with open-concept shelving. After careful measuring and a lot of online searches, I found this one! It worked perfectly!

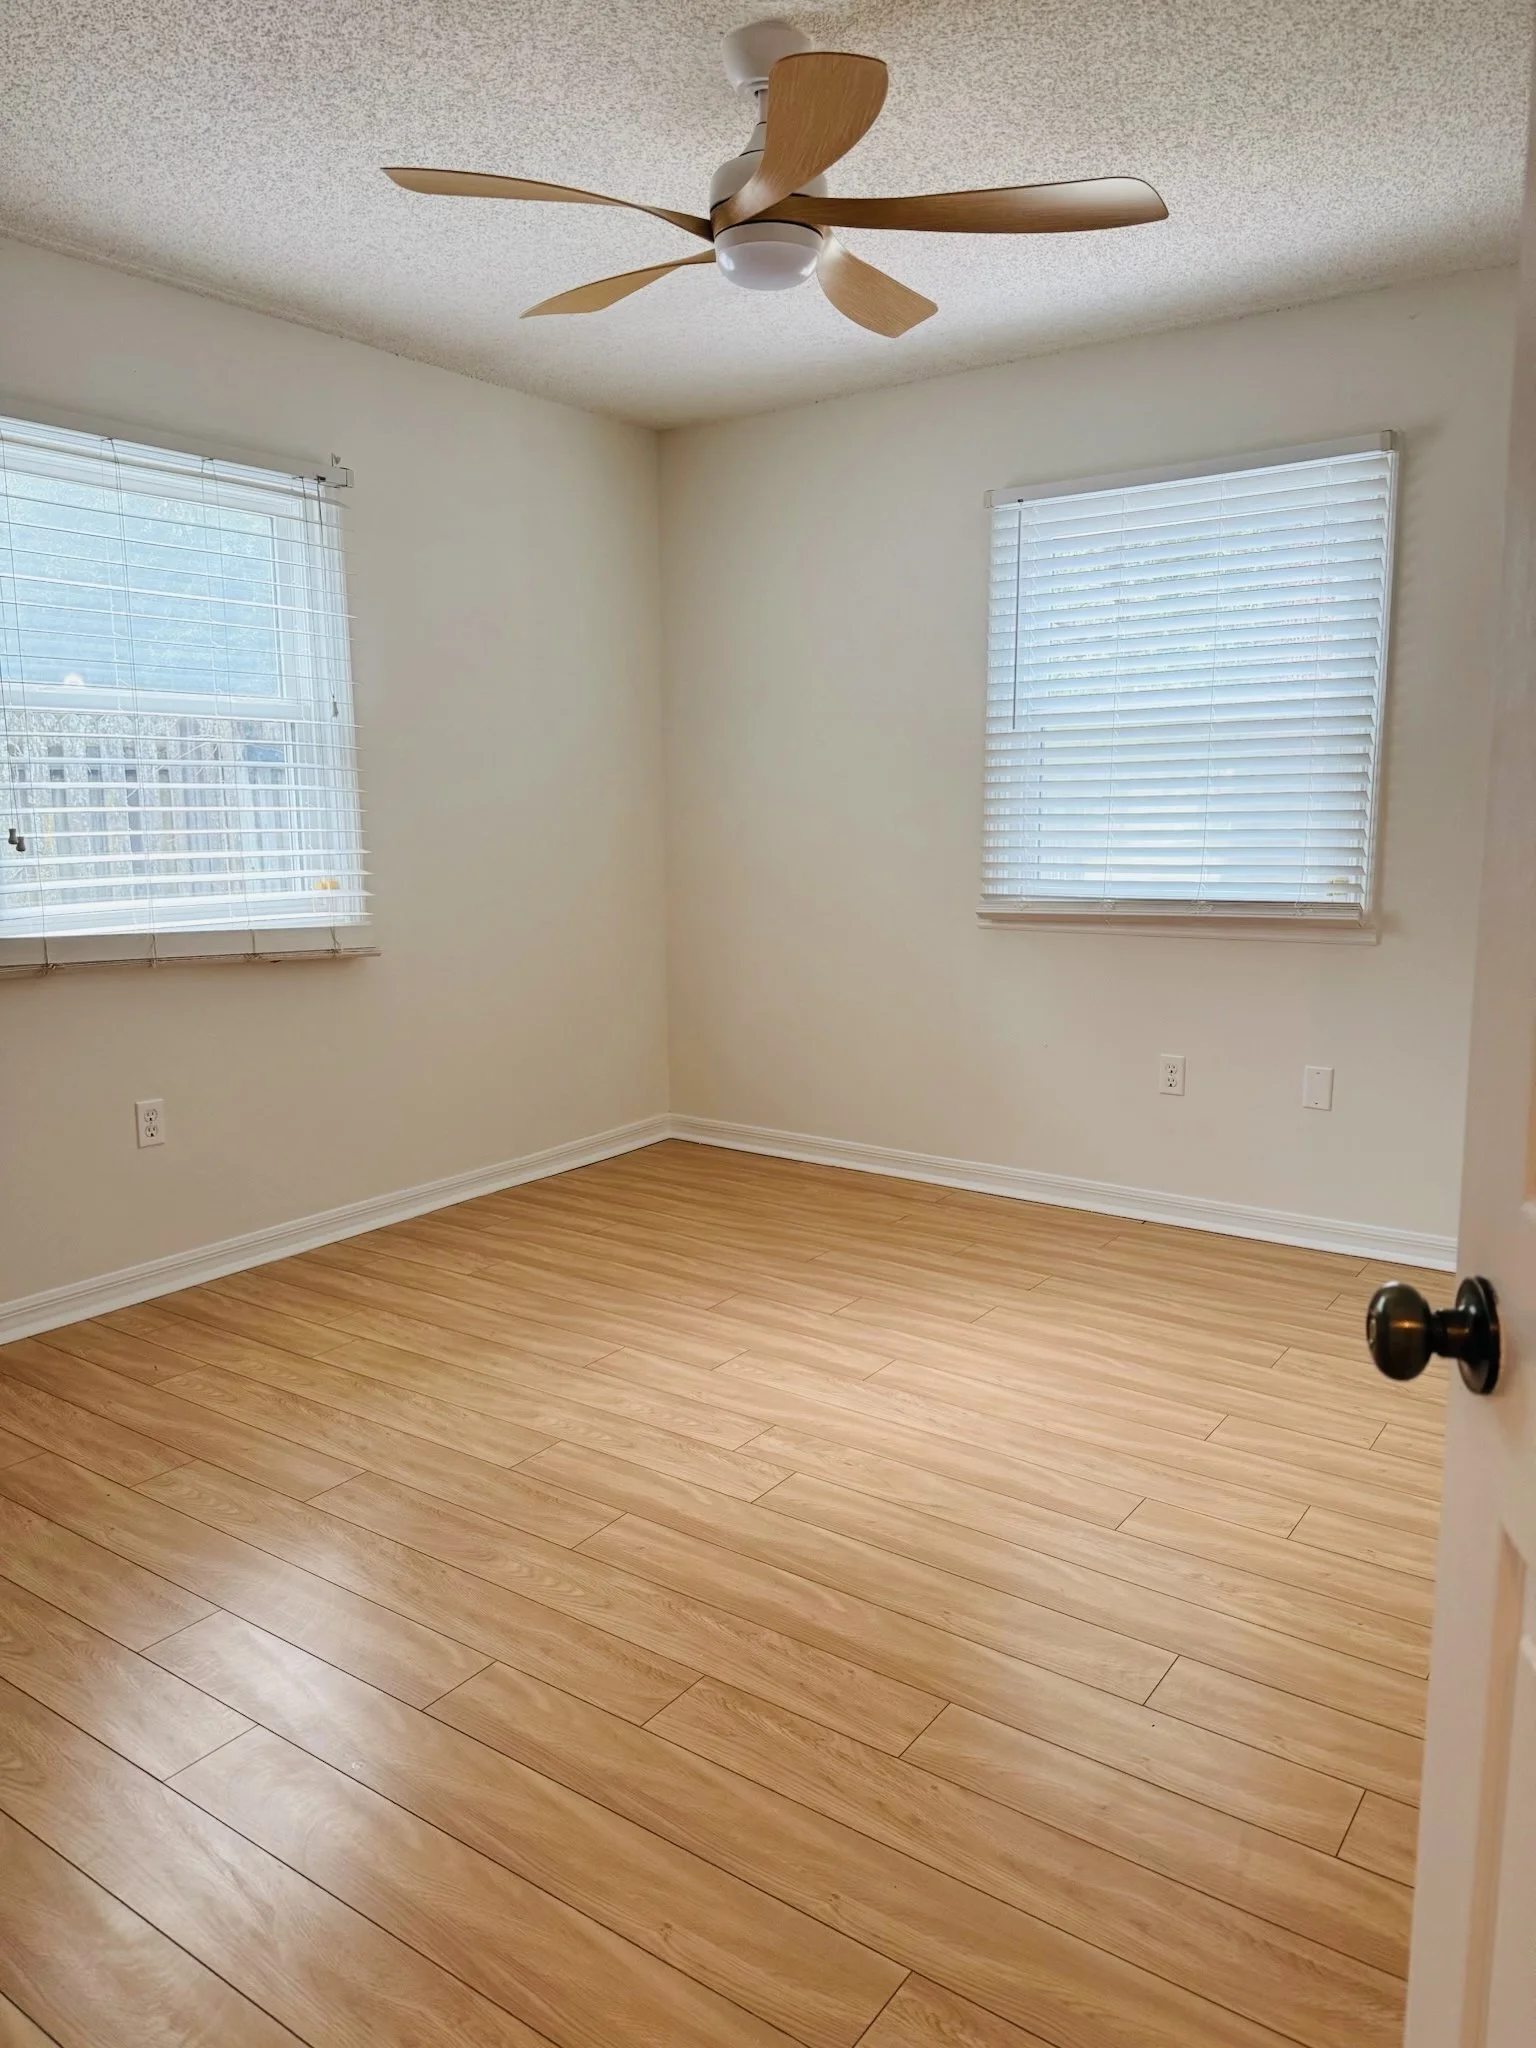
A Fan Favorite
Have you ever been through the fan aisle in Lowe’s? Yes, the one where you spend 20 minutes with your neck crunched up, trying to decipher which of the hundred fans might look good on your ceiling. It’s no easy feat! So I’ll save you the neck trouble.
I was looking for a fan that would serve as a nice lighting fixture and I finally came across this one for both bedrooms. It has dimmable light settings, you can choose between warm or white light, and heck, it even reverses circulation patterns. Quite easy to use, and a great price. I chose a natural wood–colored fan to match the light floors. And with a lower-ceiling bedroom, it’s better to find a fan that sits closer to the ceiling, giving the room a taller appearance rather than a bulky fan that causes fear of hitting your head whilst the blades churn.
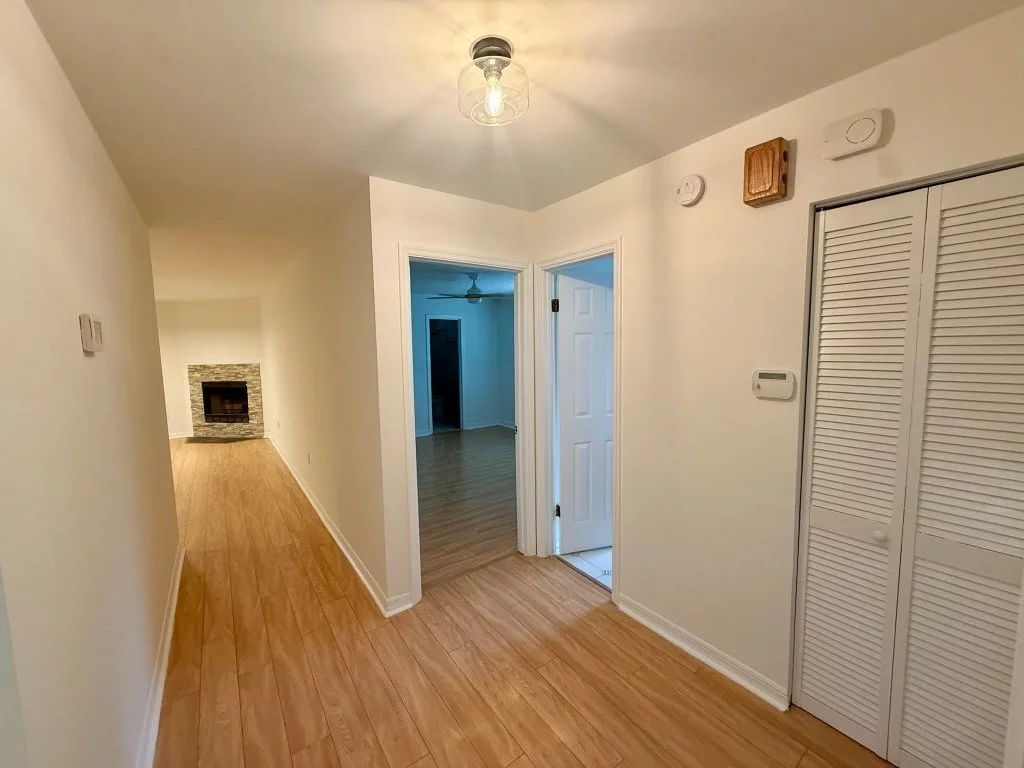
So as we make our way out of the bedrooms and bathrooms, it’s important not to neglect the in-between spaces. Take this hallway for instance. Seems minute, but simply changing this light fixture brightened up the path, giving curiosity and depth to the home. Would you guess that’s $20 well spent?
Livable Spaces for any taste
When you’re thinking about renovating, sometimes it can feel overwhelming, after all, there are so many possibilities for what you can do with a space. And if you’re starting off on a new home project, like we did here, it’s important to remember that it’s okay to settle for what is possible today rather than stretch yourself thin trying to obtain the Pinterest-perfect look.
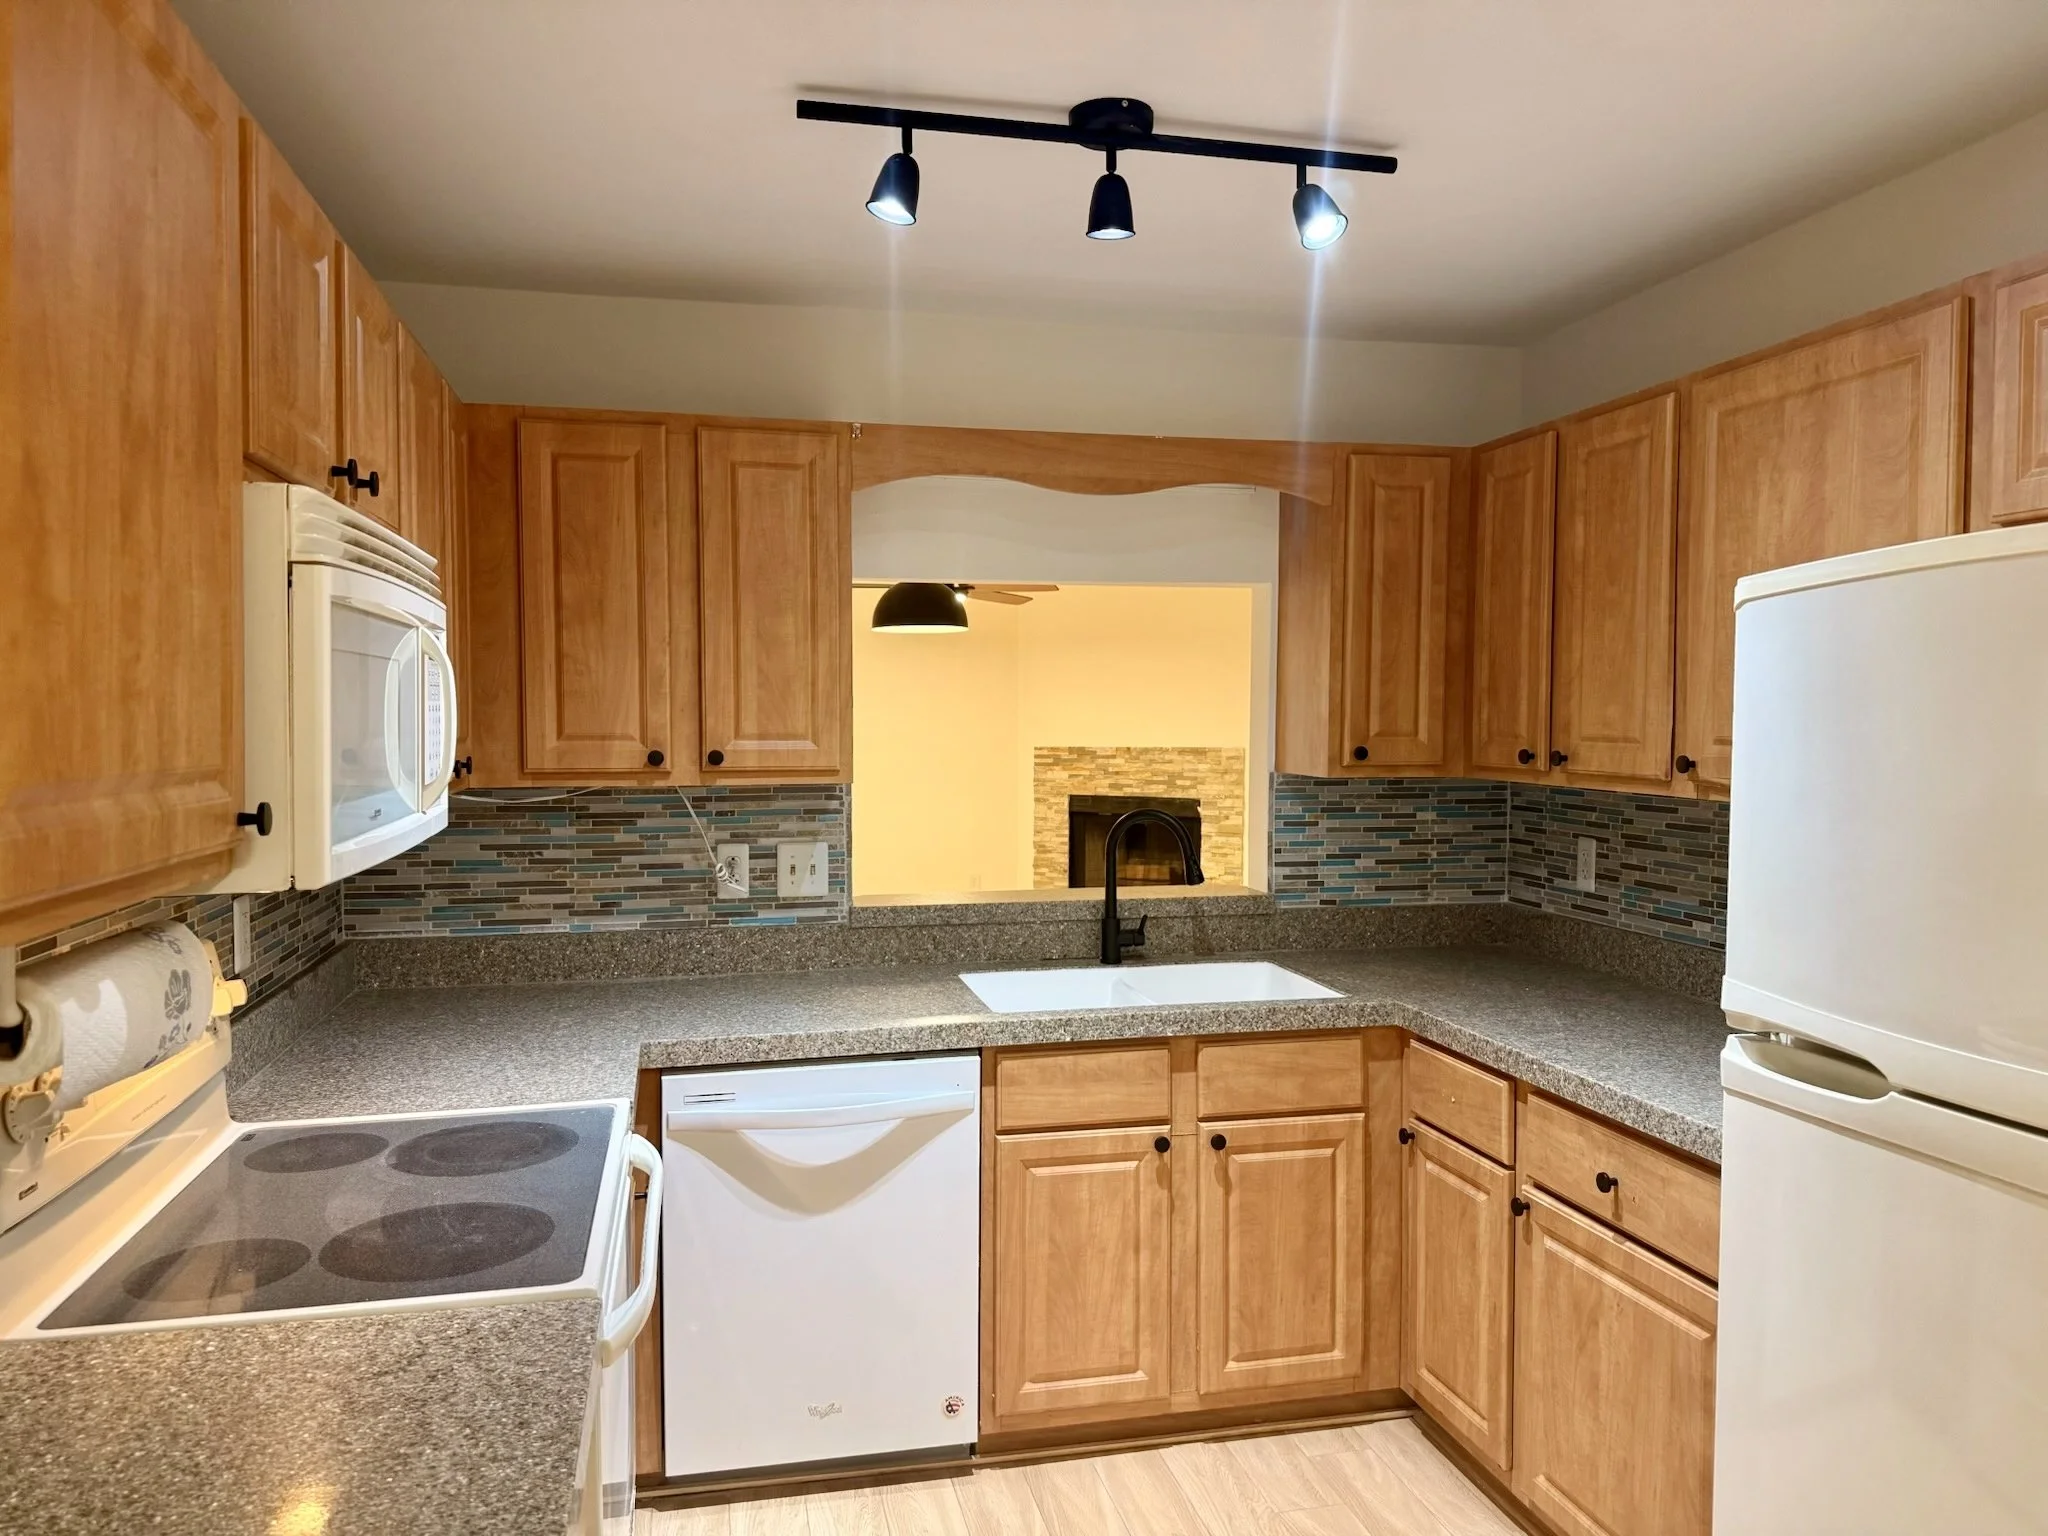
What I did in the kitchen and living area was not revolutionary, but it was sustainable updates that allow whoever chooses to make this their home the ability to personalize it.
For the kitchen, I changed the light fixture to this IKEA one that gave more light but was sleek and modern.
Goodbye seashell knobs, hello black ones.
Kitchen sink refreshed and a new, removable kitchen faucet (yay for dish cleaning).
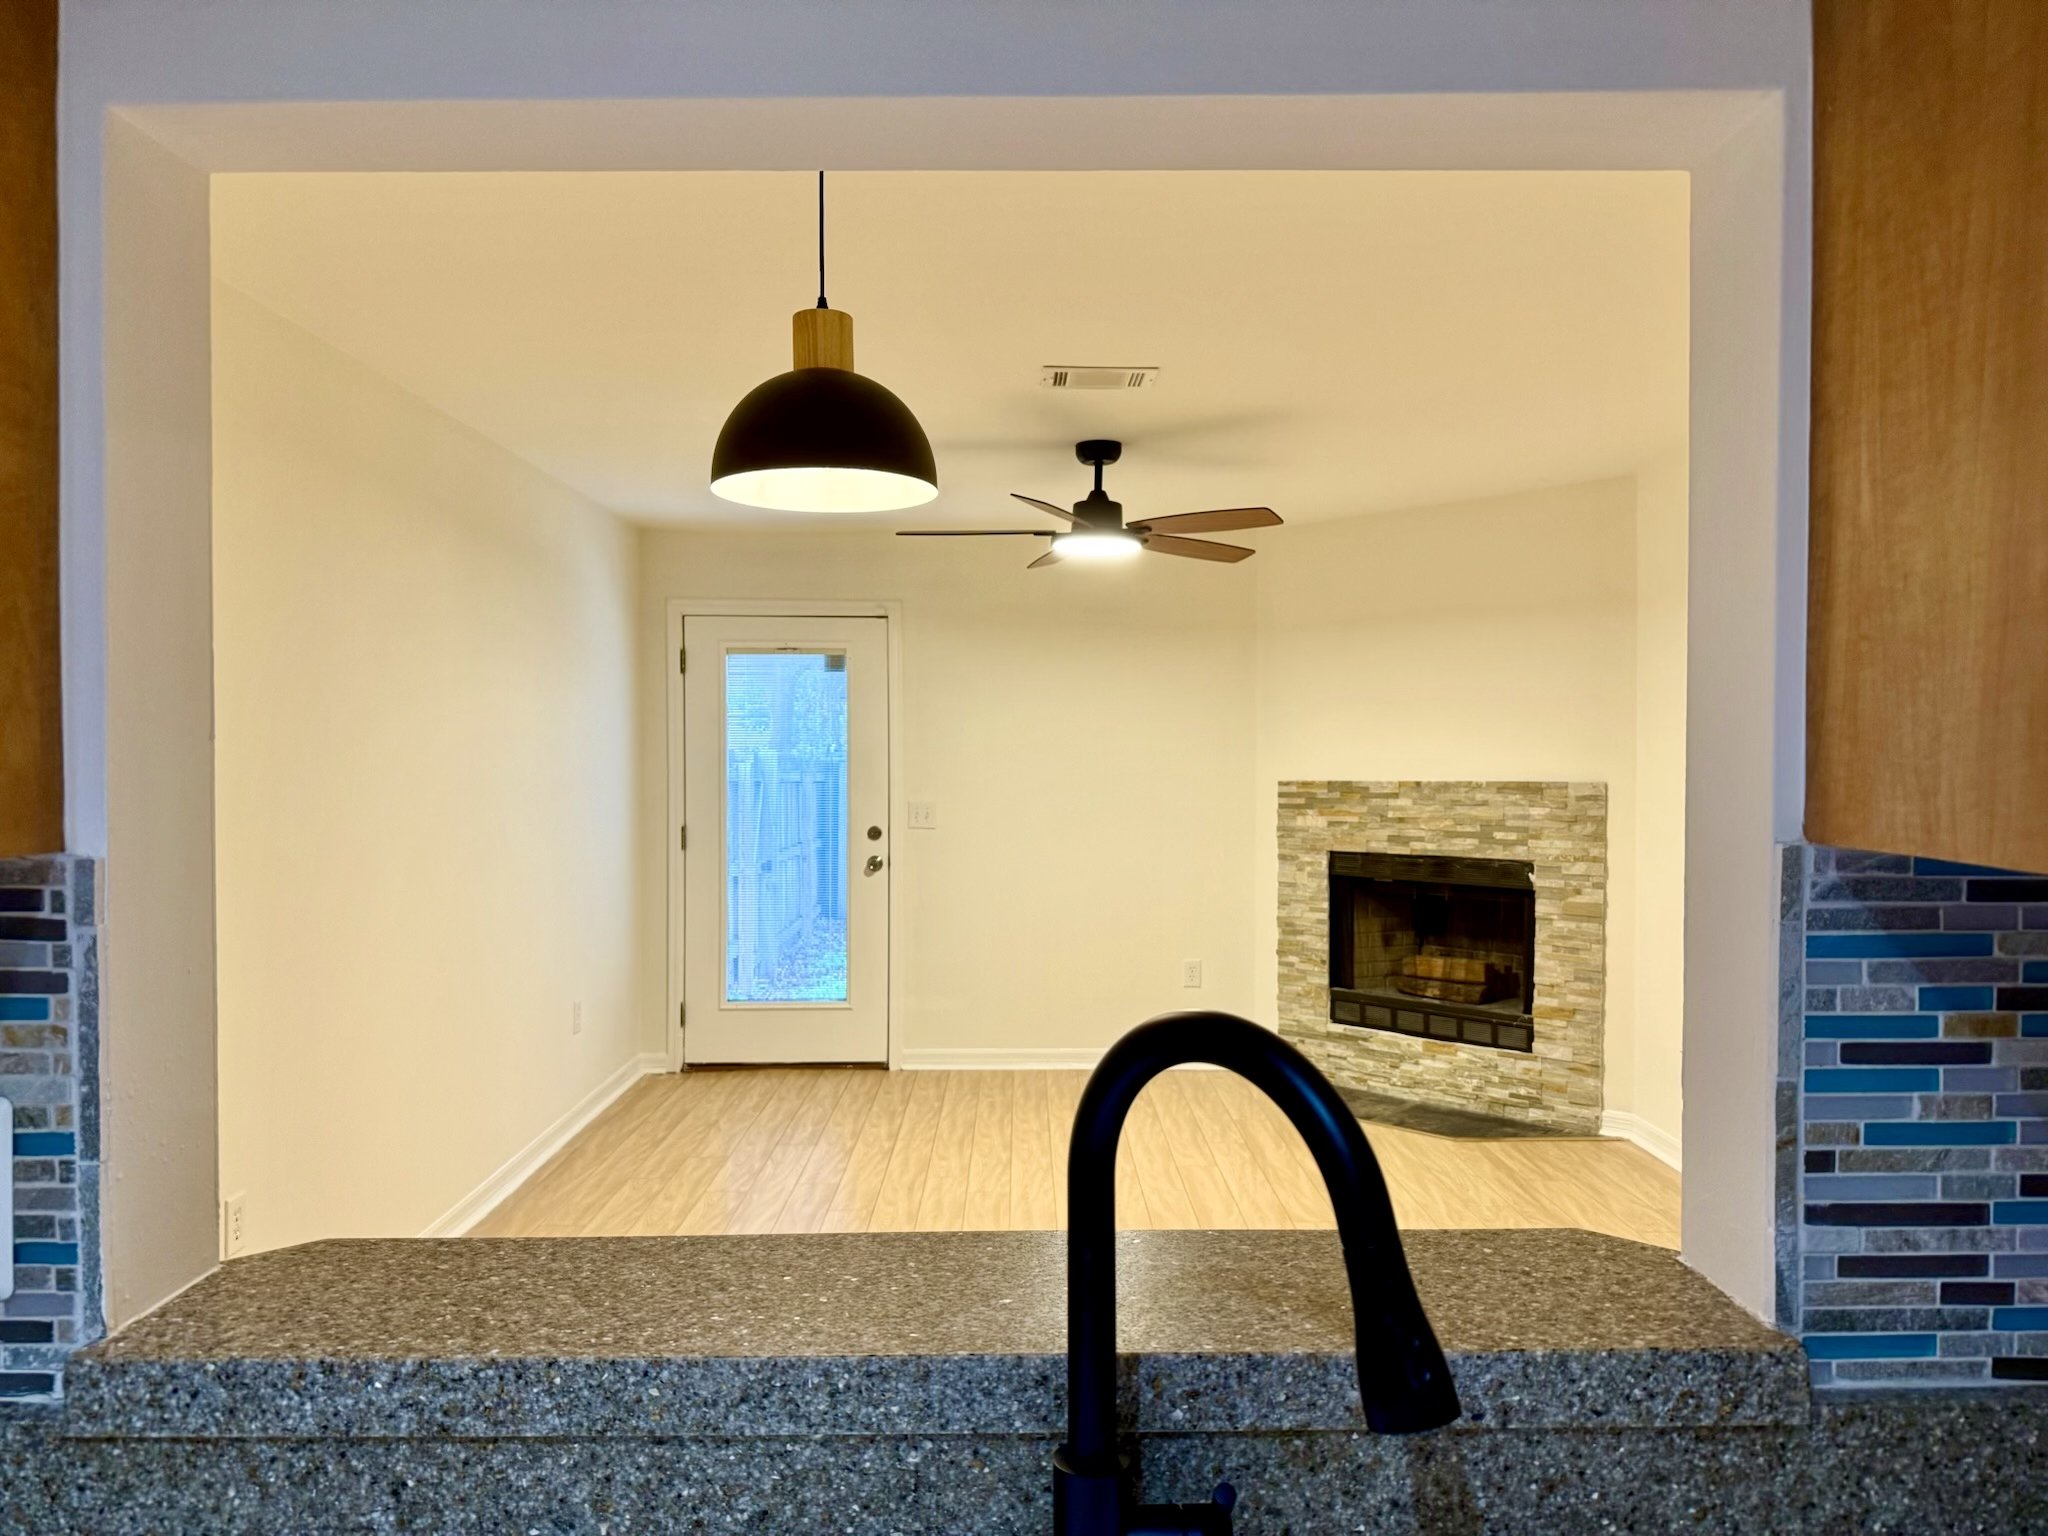
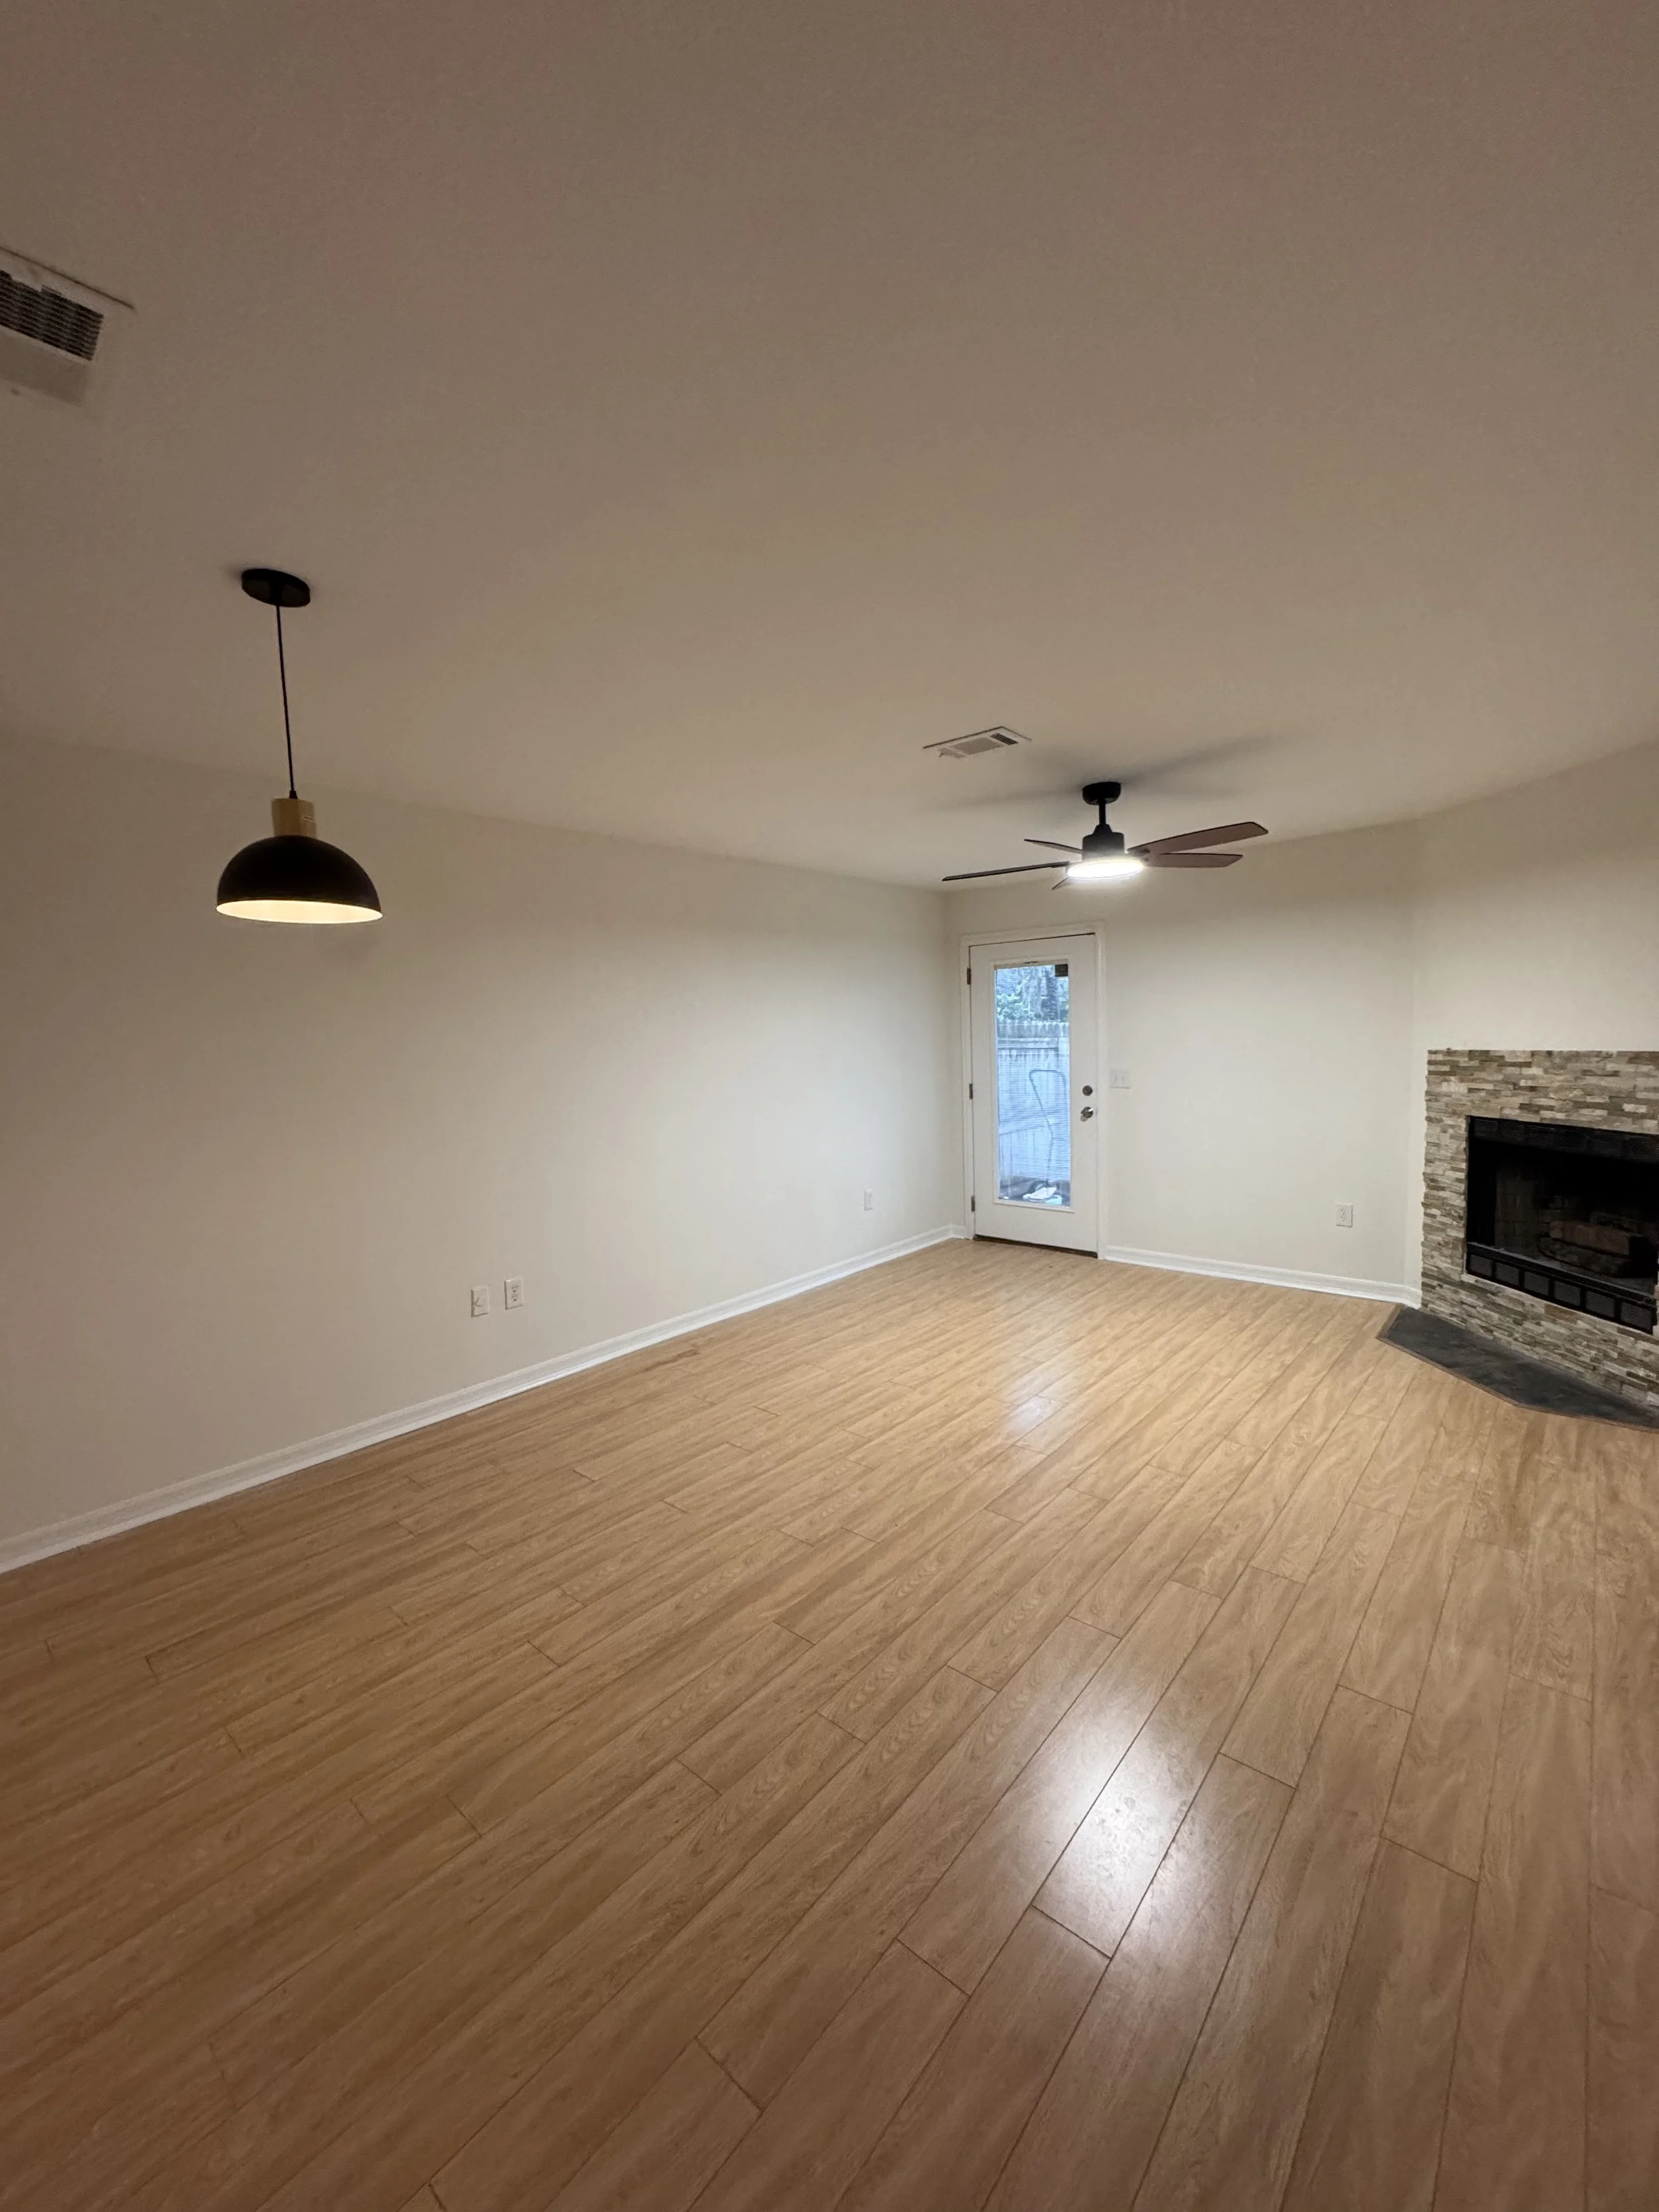
In the living room, I added a beautiful Scandinavian light and a slightly larger fan that adds nice warmth to the space.
Don’t Forget the Greenery
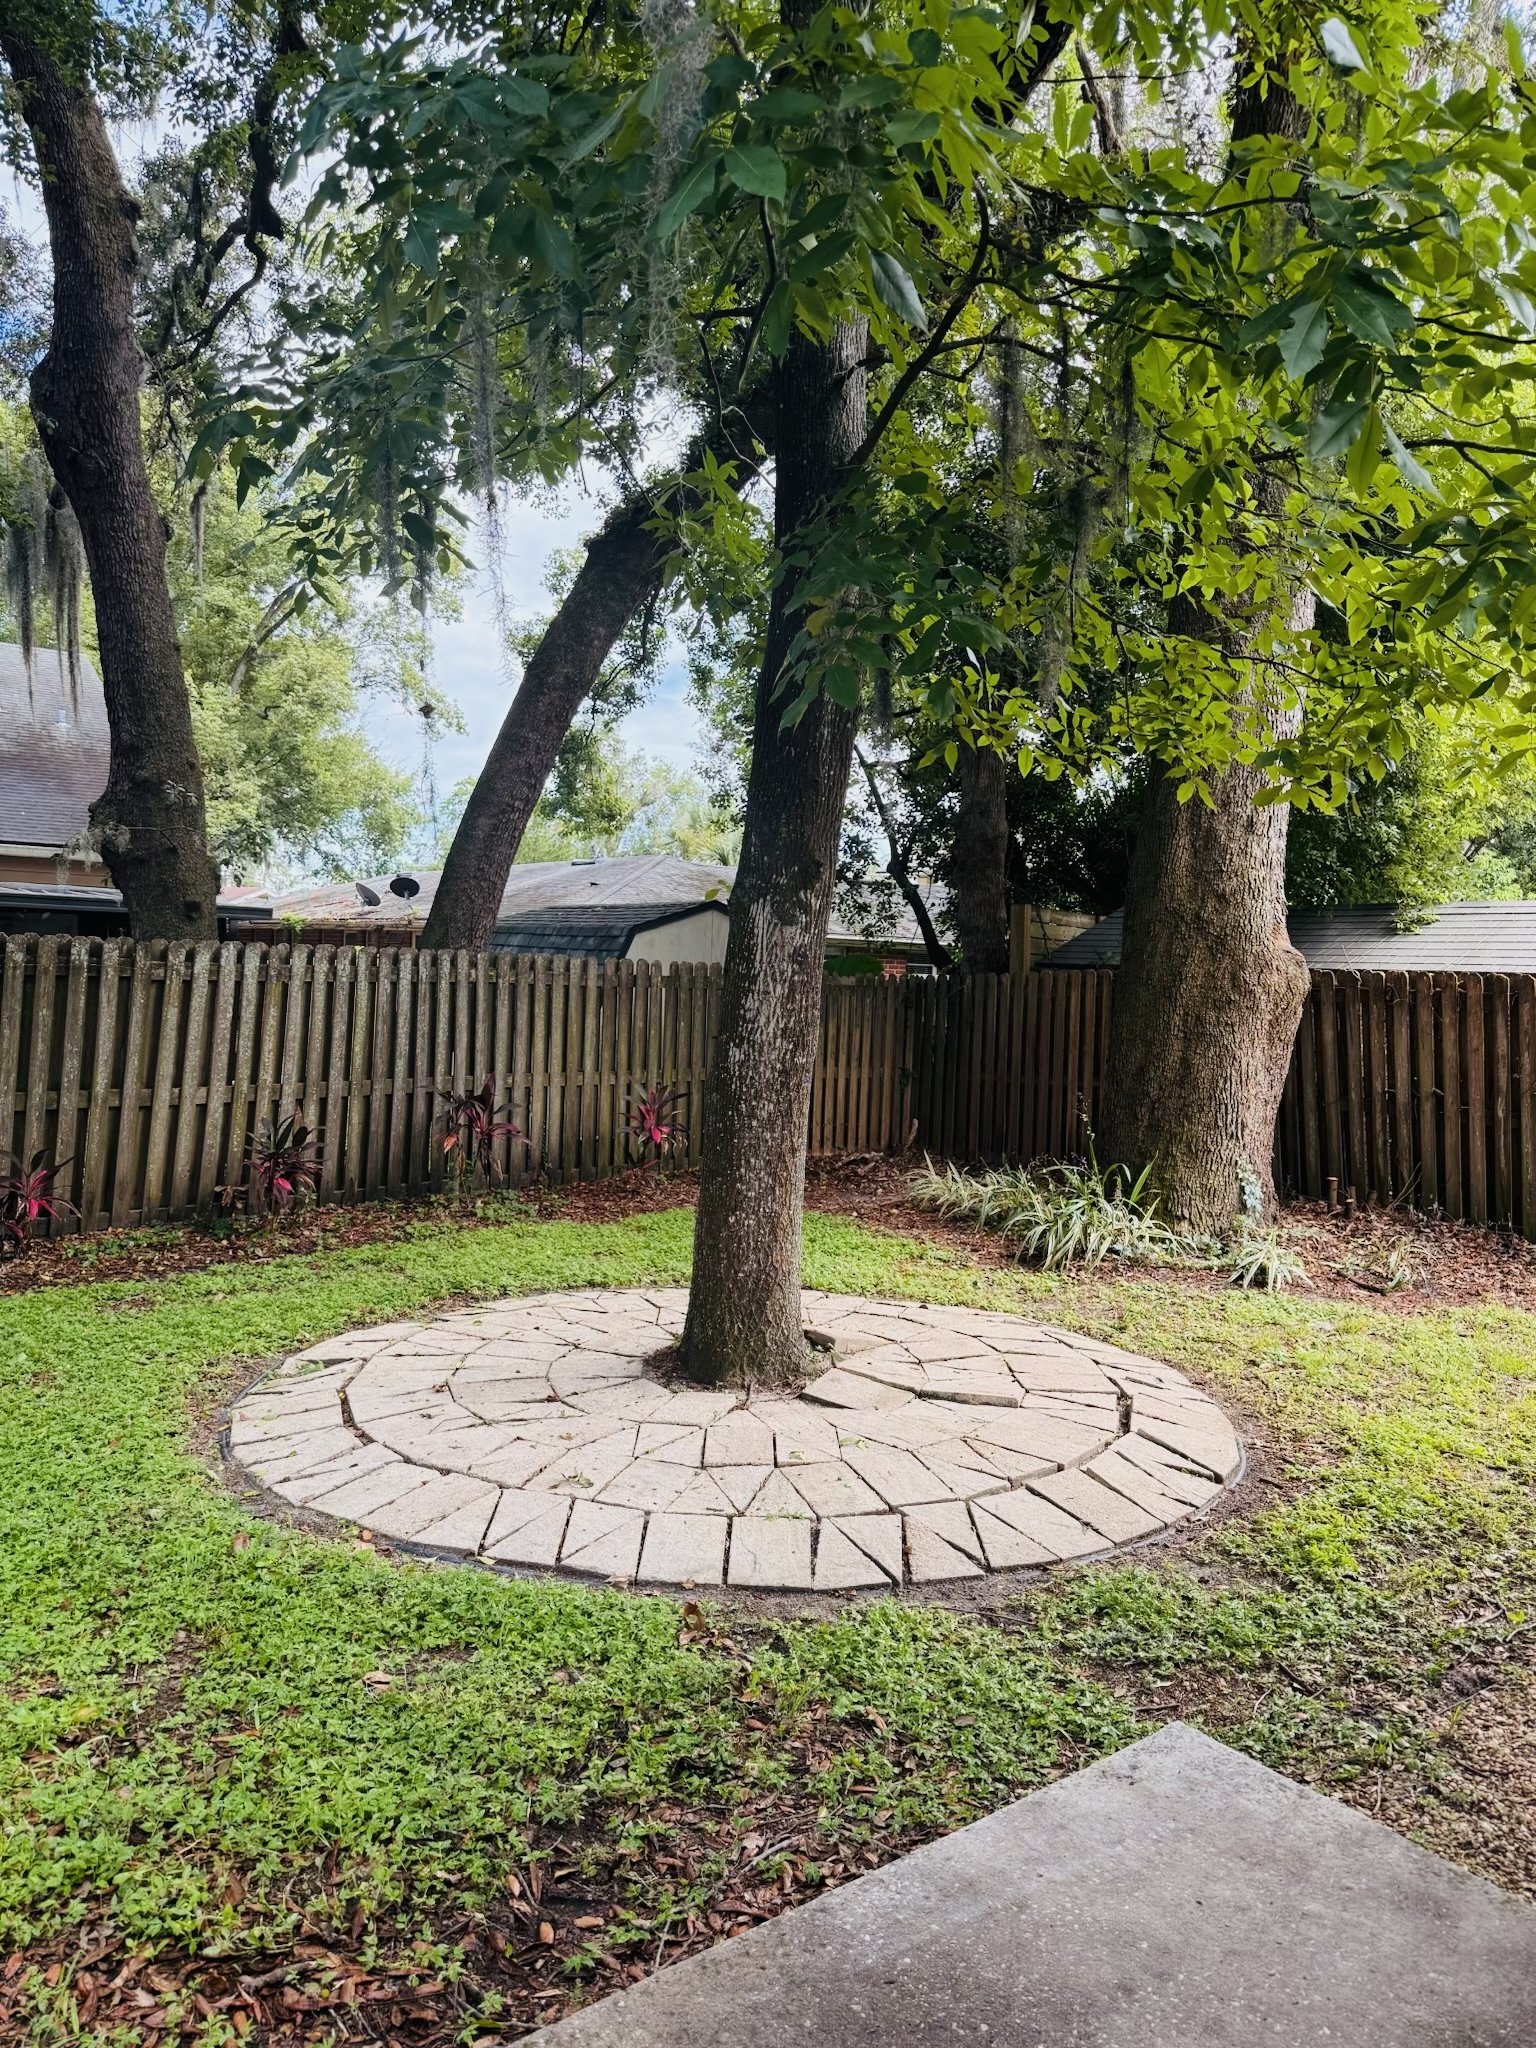
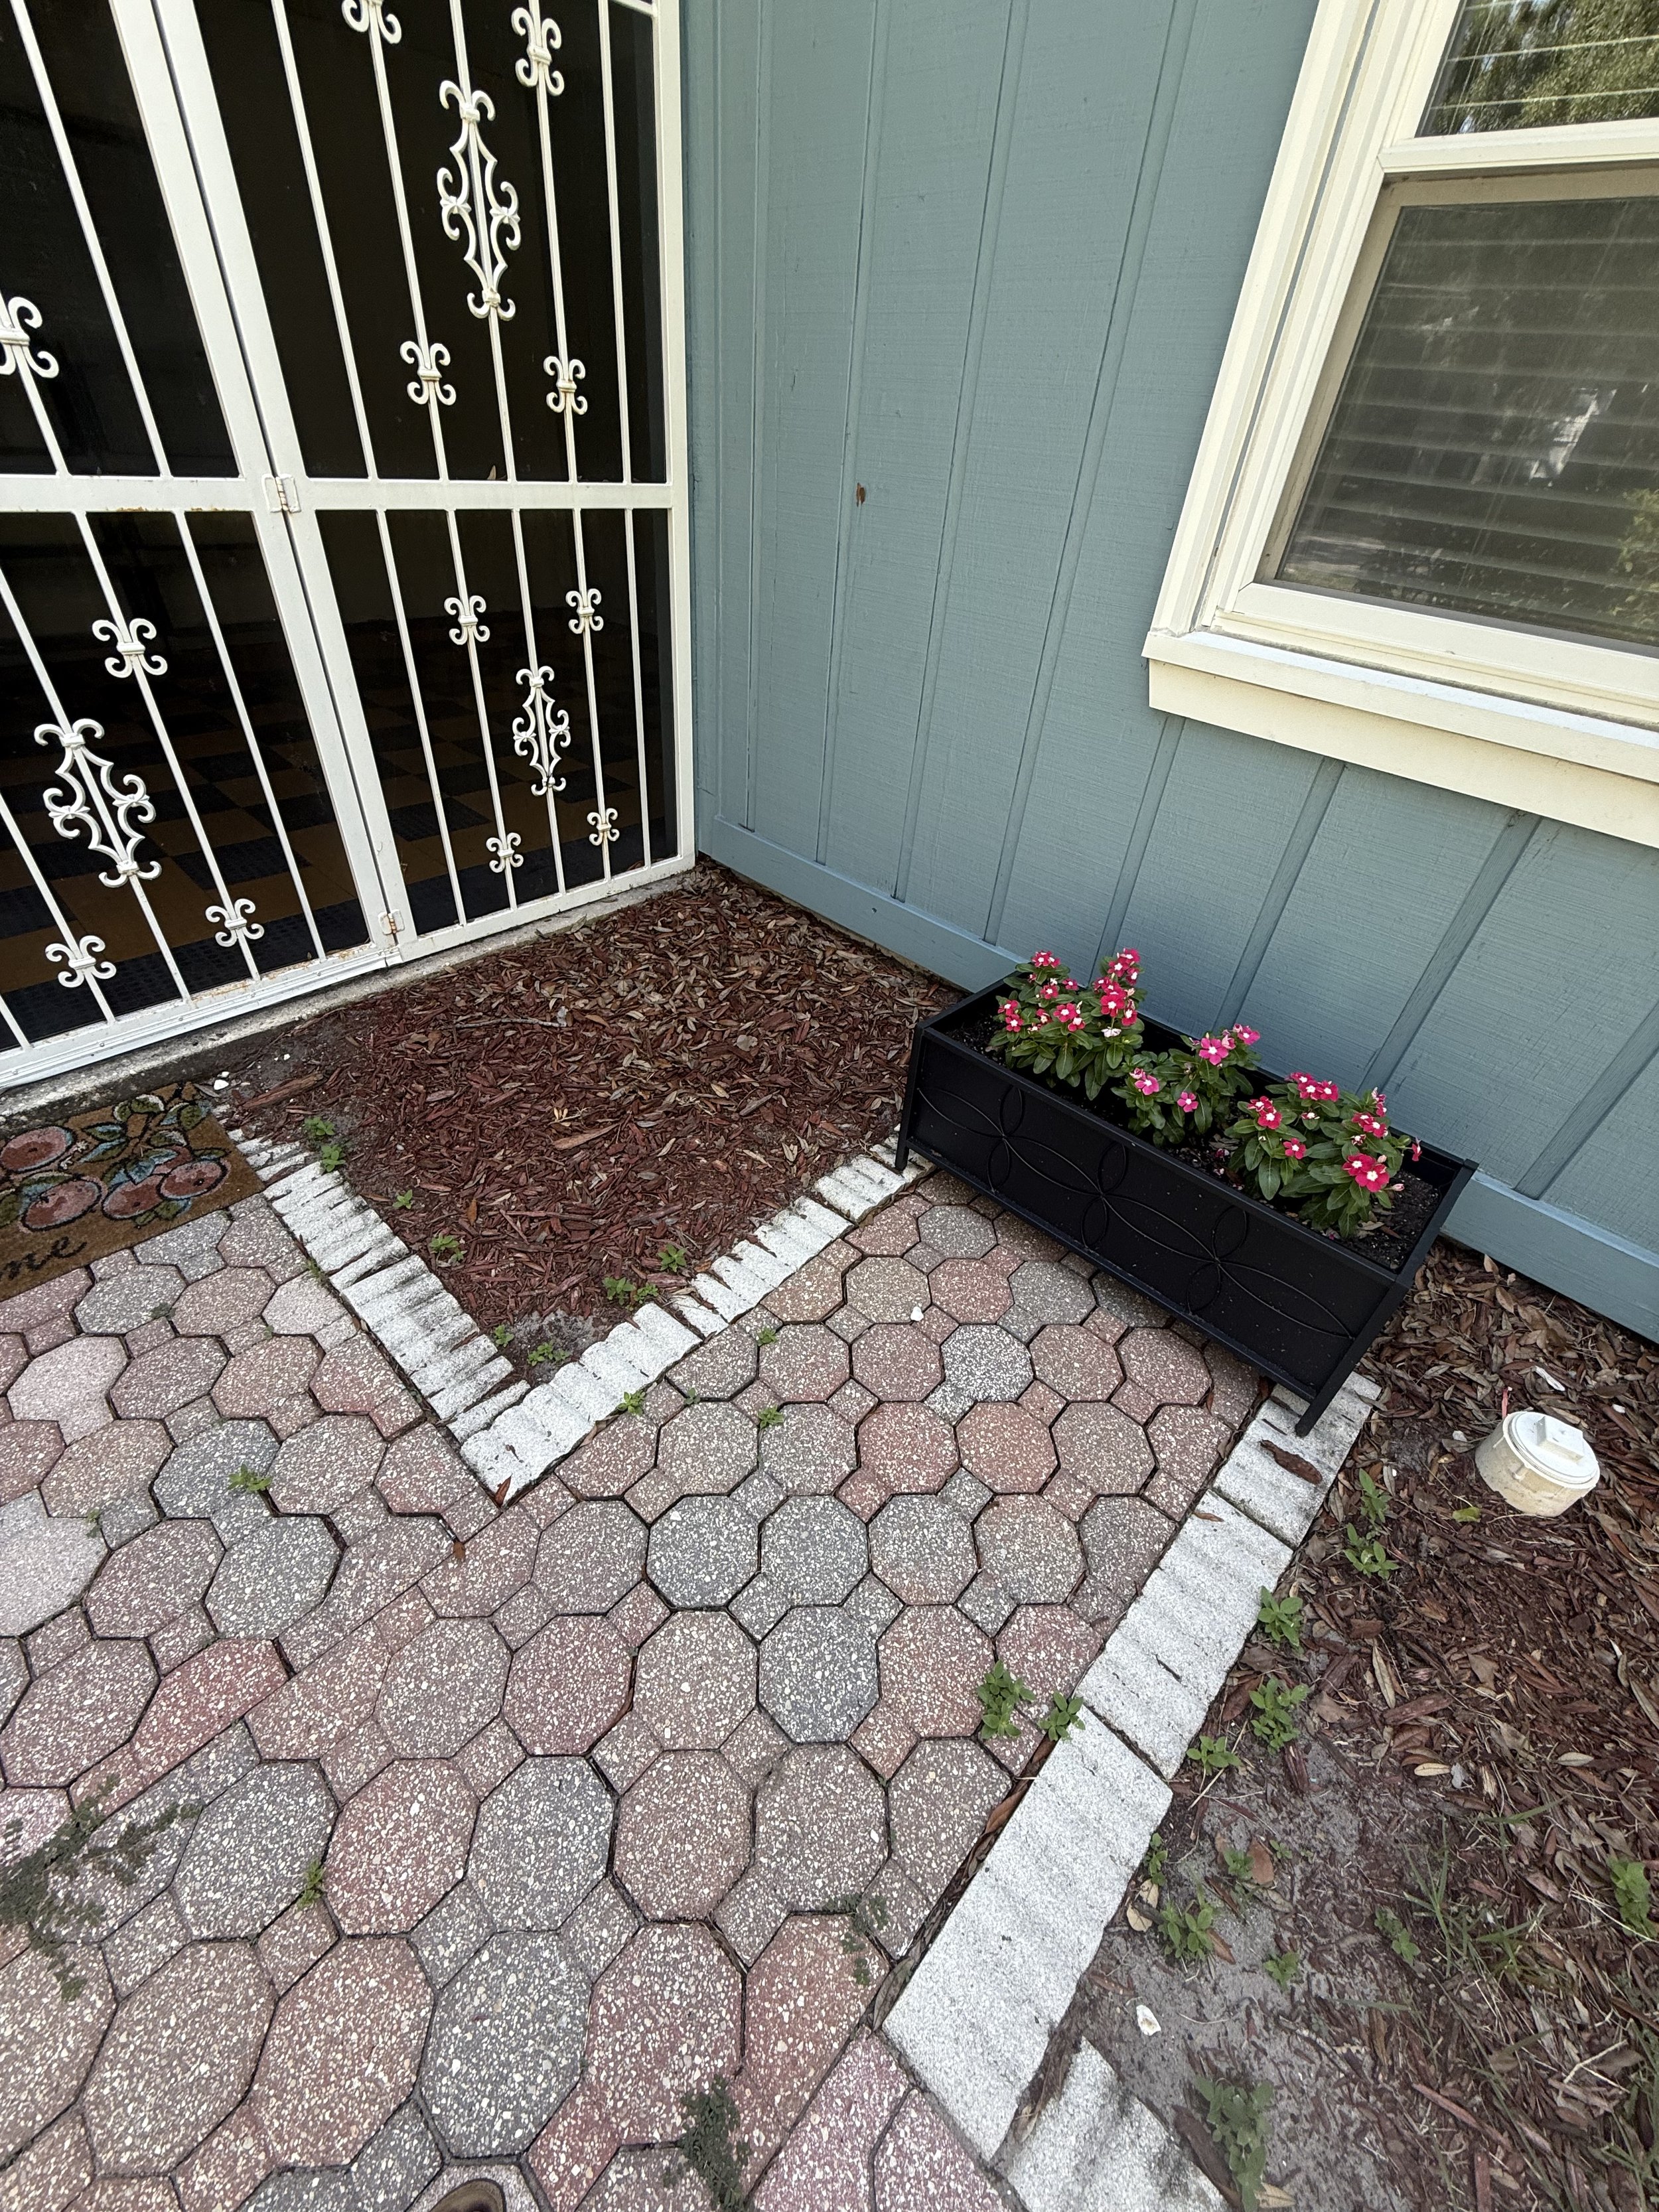
Last but not least, don’t forget the greens! Very similar to the inside of a home, small changes can make an outdoor space feel welcoming. In the backyard (left), we simply had our lawn care guys trim and clean up the space. There was already natural landscaping in place, it just needed a bit of a haircut :D
So whether it’s trimming back the weeds or adding a new planter with fresh flowers, bringing care to Lil Blue made it feel loved from the moment you walk up the path.
Looking back, Lil Blue taught us so much. To leap forward, to takes risks, and to find the best white paint! But truly Lil Blue taught us that homes, just like life, are not about full transformations. Rather, it’s about intentional shifts that add light, warmth and ease. And both you and I have the ability to create simple changes that when done with care, can truly make any house feel like home.
Thanks for following along on Remodeling Lil Blue 🤍 I’d love to hear what you think below!